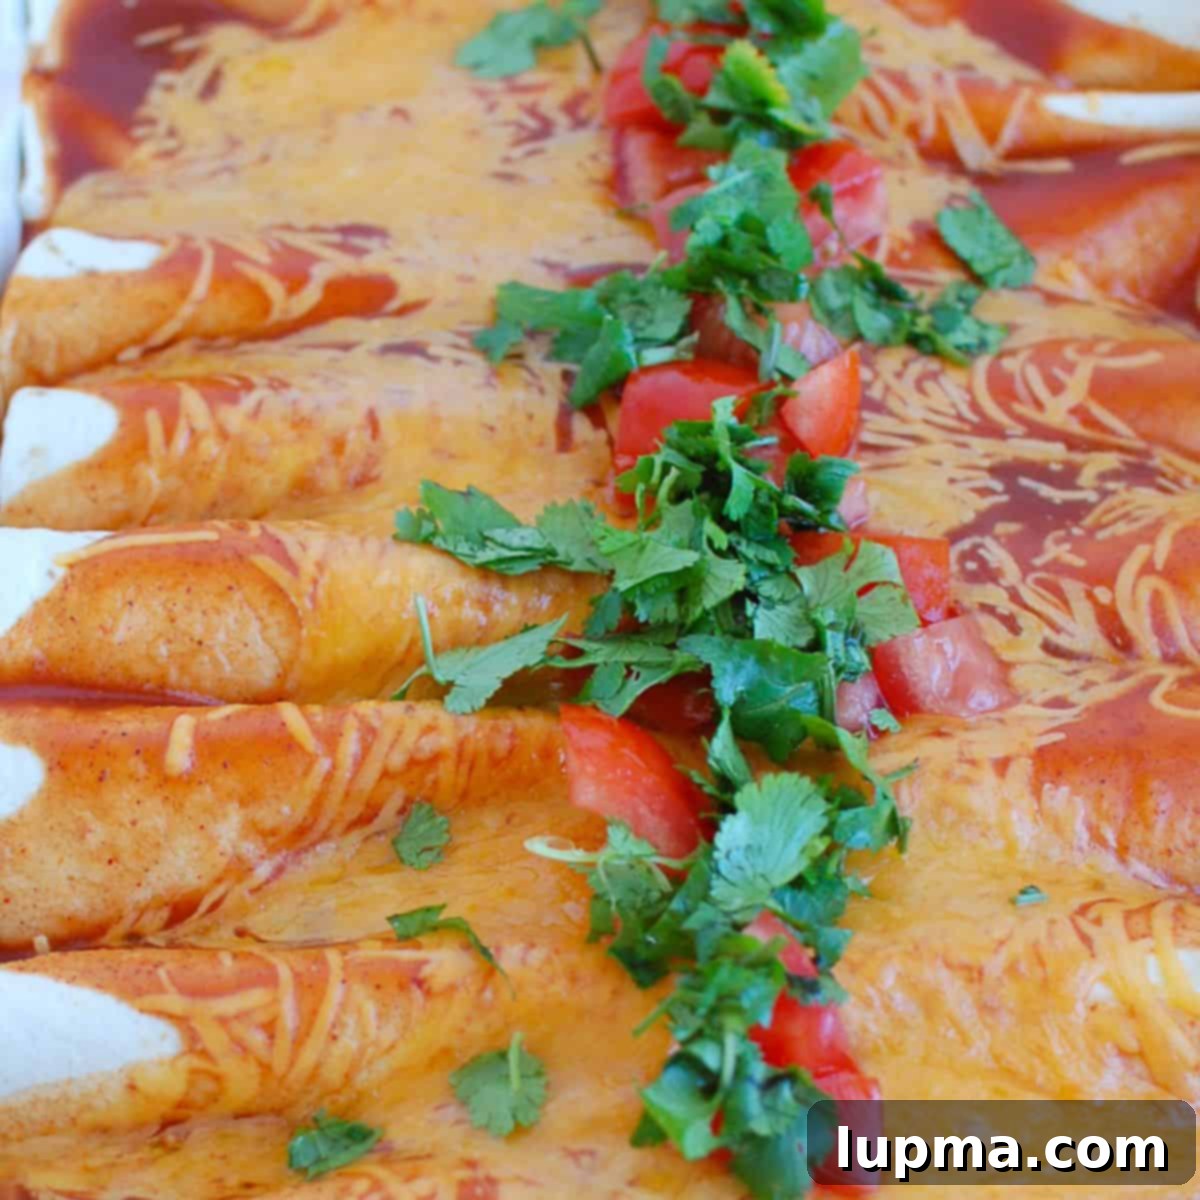
Easy & Cheesy Chicken Enchiladas: Your Go-To Family Favorite Recipe
There’s nothing quite like a comforting, cheesy dish to bring everyone together around the dinner table, and these **Easy Chicken Enchiladas** fit the bill perfectly. Imagine warm, tender shredded chicken, vibrant diced green chiles, and flavorful peppers, all rolled into soft whole wheat tortillas and generously topped with a rich, cheesy enchilada sauce. Baked to bubbly perfection, this meal is not only a delight for your taste buds but also incredibly simple to prepare, making it a staple in any busy household.
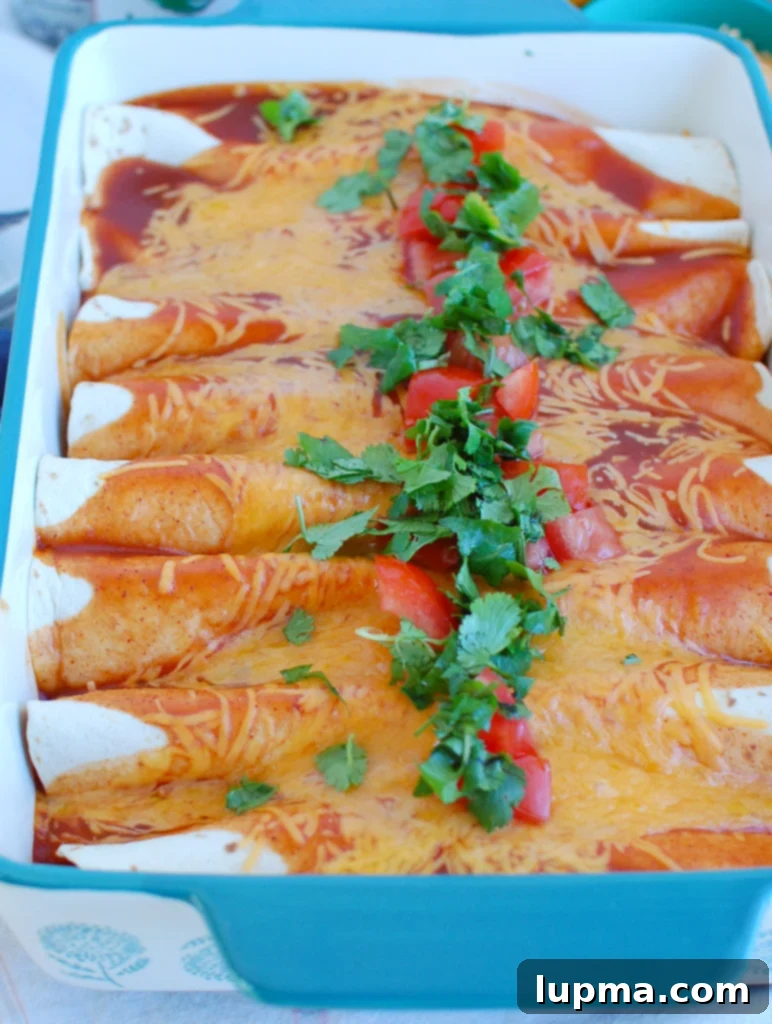
The Ultimate Comfort Food and a Thoughtful Gift
When asked for the best gift to give a new parent, my answer is always a homemade meal. During my own experience with a newborn, I found that preparing a healthy, hearty dinner was often one of the most challenging tasks. That’s precisely why these **Chicken Enchiladas** are my go-to dish for friends and family in need of a helping hand. They embody comfort, require minimal effort from the recipient, and can be easily assembled ahead of time and refrigerated until ready to bake. This makes them not only a cherished family recipe but also a truly thoughtful gesture of support.
Beyond being a fantastic gift, these enchiladas are a rotating favorite at my house. Their ease of preparation and the consistently delicious results mean they frequently appear on our weekly meal plan. The secret to their simplicity often lies in utilizing **pre-cooked shredded chicken**, whether it’s from a slow cooker batch prepared earlier in the week or a readily available store-bought rotisserie chicken. This significantly cuts down on active prep time, making a wholesome and satisfying dinner achievable even on the busiest evenings.
Expanding Your Mexican Culinary Adventures
The versatility of enchiladas extends beyond just chicken, offering endless possibilities for your meal planning. While today’s recipe focuses on our incredibly popular Easy Chicken Enchiladas, we also love to experiment with other savory fillings. Our family frequently enjoys these alongside other delicious variations like our Easy Vegetarian Enchiladas, packed with colorful veggies and nutritious beans, or hearty Three Cheese Beef Enchiladas for a richer, different flavor profile. The core technique for rolling and baking remains similar, offering endless avenues for customization and variety.
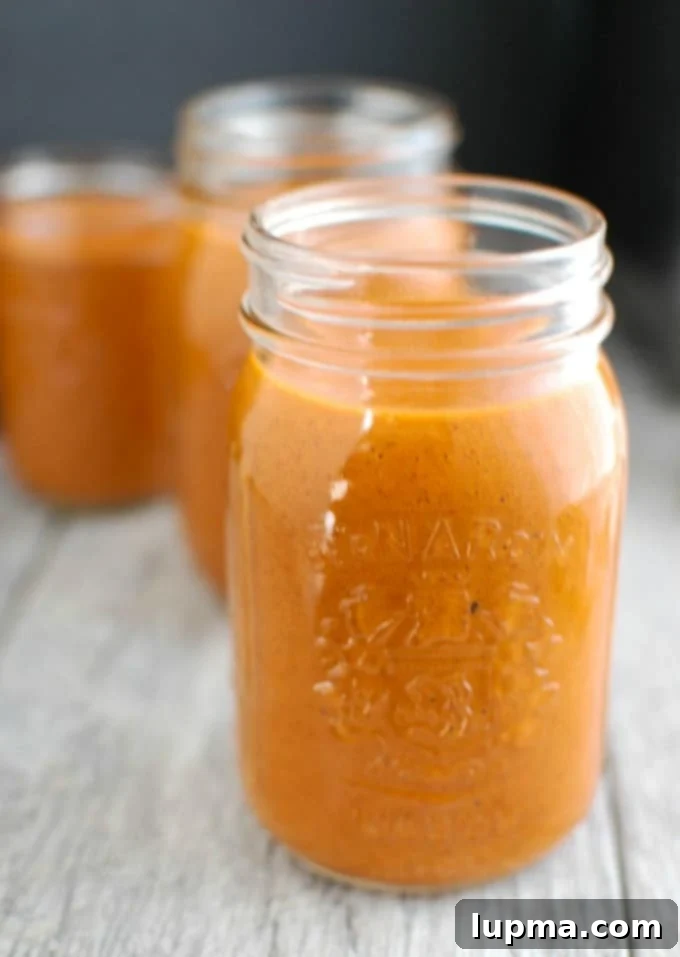
Furthermore, a truly excellent homemade enchilada sauce is a game-changer. While many convenient store-bought options are available, crafting your own Homemade Blender Enchilada Sauce elevates any dish with its fresh, robust flavor profile. This versatile sauce isn’t just for traditional enchiladas; it can transform a variety of Mexican-inspired meals. I love incorporating it into quick recipes like savory Chicken Enchilada Sliders, a comforting bowl of Chicken Enchilada Soup, a robust Beef Enchilada Casserole, or even a simple and speedy One-Pot Chicken Enchilada Pasta. Having a batch of this flavorful sauce on hand truly makes weeknight cooking a breeze and encourages culinary exploration.
Essential Ingredients for Crafting Perfect Chicken Enchiladas
Creating these delightful chicken enchiladas begins with a selection of fresh, high-quality ingredients that come together to form a harmonious blend of flavors and textures. We aim for a balanced combination of protein, vibrant vegetables, and savory spices, all bound together with melty cheese and a rich, aromatic enchilada sauce. Below is a comprehensive summary of the core components you’ll need to gather. For precise measurements and detailed ingredient notes, please refer to the complete recipe card located further down the page.
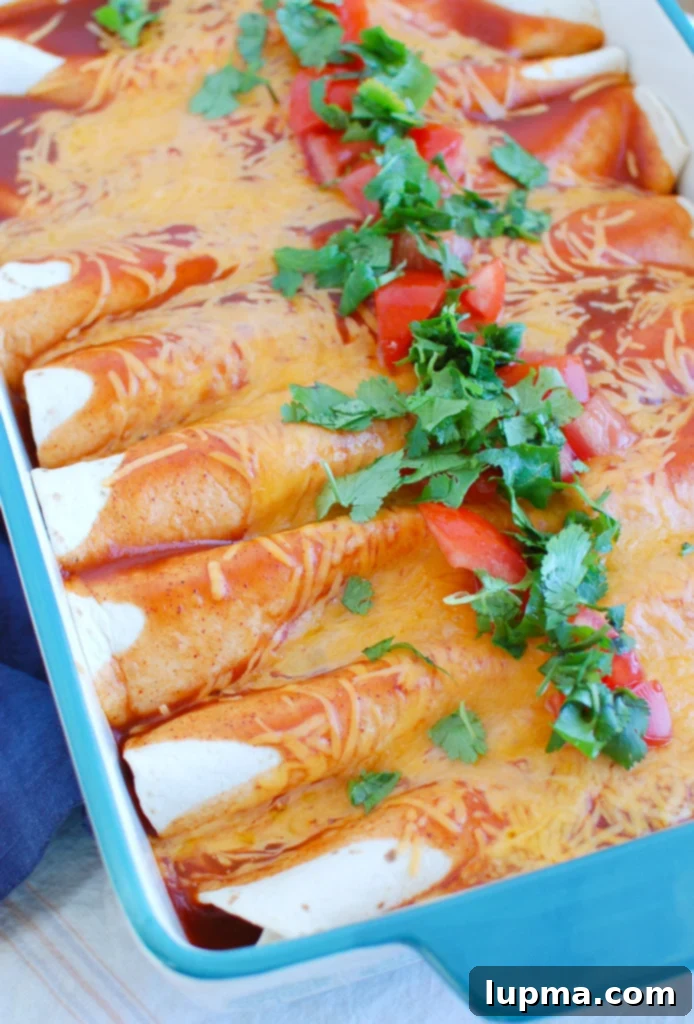
- Chicken: The central protein of our enchiladas. We highly recommend using boneless, skinless chicken breasts, cooked until tender and then shredded. For maximum convenience and minimal effort, a store-bought rotisserie chicken is an excellent and popular time-saving option.
- Diced Tomatoes: These add a pleasant touch of acidity, sweetness, and moisture to the filling. Remember to drain them thoroughly before adding to prevent a watery consistency.
- Fresh Vegetables: A colorful and flavorful medley featuring a medium green bell pepper (you can easily substitute red, yellow, or orange bell peppers for a sweeter profile), and finely chopped sweet onion provides essential aromatics, texture, and a hint of sweetness. Diced green chiles, often found in cans, contribute that authentic, mild Tex-Mex heat and a wonderful depth of flavor.
- Spices: Our key spices include ground cumin, which offers a warm, earthy base, and a touch of cayenne red pepper, which can be adjusted to your personal preference for heat. Don’t forget staple seasonings like salt and freshly ground black pepper to taste, ensuring the filling is perfectly seasoned.
- Cheese: A generous amount of shredded cheese is absolutely crucial for creating a truly cheesy and satisfying enchilada. While sharp cheddar is a classic and robust choice, many other varieties melt beautifully and add different nuances.
- Enchilada Sauce: This savory sauce is the heart and soul of the dish, enveloping the tortillas in rich flavor. You can opt for your favorite high-quality store-bought red enchilada sauce, or for an unparalleled depth of flavor and control over ingredients, try our easy homemade version.
- Tortillas: We prefer whole wheat tortillas for their slightly nutty flavor and their ability to hold the filling beautifully without becoming soggy. However, traditional corn tortillas are also a delicious and authentic choice, offering a distinct texture and taste.
These carefully selected ingredients come together to create a filling that is both robustly flavored and satisfying, perfectly complementing the rich sauce and soft texture of the tortillas, making every bite a true delight.
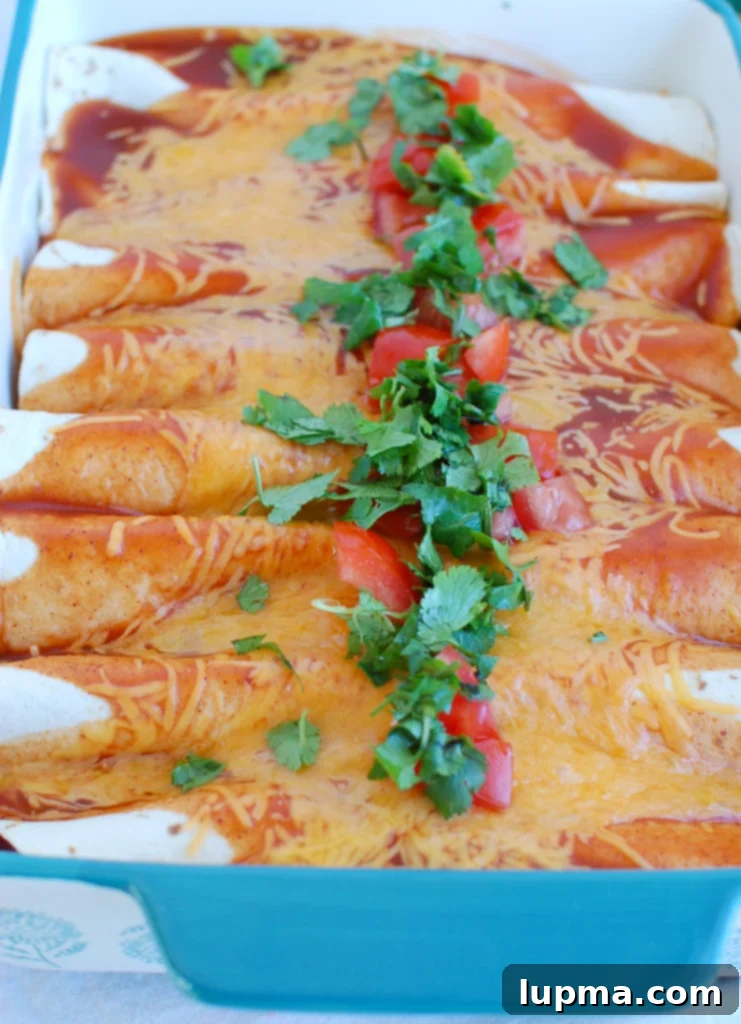
Crafting Your Perfect Chicken Enchiladas: A Detailed Step-by-Step Guide
Making these easy and delicious chicken enchiladas is a straightforward and enjoyable process, designed to be accessible for cooks of all skill levels. By following these simple yet precise steps, you’ll be able to assemble a flavorful and impressive meal that’s perfect for any occasion.
Step 1: Preparing Your Chicken for the Filling
The foundation of these incredible enchiladas is perfectly cooked, tender shredded chicken. You have a few convenient options here, depending on your available time and preference:
- Cooking from Scratch: If you’re starting with raw boneless, skinless chicken breasts, you can easily prepare them by boiling, poaching, or baking. For the boiling method, place the four chicken breasts in a wide pan, season them with a dash of salt and pepper, add a single bay leaf for aromatic depth, and a teaspoon of dried thyme. Pour enough water into the pan to cover the chicken by approximately 2 inches. Bring the water to a rolling boil, then immediately reduce the heat to a gentle simmer and let it cook for about 10 minutes. Turn off the heat, cover the pan with a lid, and let the chicken sit for another 8-10 minutes, or until it is thoroughly cooked through and reaches an internal temperature of 165°F (74°C).
- Utilizing Leftovers: This recipe is absolutely fantastic for repurposing leftover cooked chicken from a previous meal, making it a great option for minimizing food waste and maximizing flavor.
- The Rotisserie Chicken Shortcut: For the ultimate in convenience and a significant reduction in prep time, a store-bought rotisserie chicken is your best friend. Simply remove the skin and bones, then easily shred the tender meat.
Once your chicken is cooked, shred it efficiently using two forks to pull the meat apart. For an even quicker and less labor-intensive method, place the cooked chicken breasts in a stand mixer fitted with the paddle attachment. Mix on low speed for a minute or two, and you’ll have perfectly shredded chicken in no time. This kitchen hack is a true game-changer!
Step 2: Preparing the Flavorful Enchilada Filling
With your shredded chicken ready, it’s time to create the vibrant heart of your enchiladas – the filling. In a spacious large mixing bowl, combine the shredded chicken with a 15-ounce can of well-drained diced tomatoes, two 4-ounce cans of diced green chiles (you can leave them undrained for extra moisture and flavor), one medium green bell pepper that has been finely chopped, and a quarter of a sweet onion, also finely chopped. Season this mixture generously with 1 teaspoon of ground cumin, 1/4 teaspoon of cayenne pepper (feel free to add more if you prefer a spicier kick!), and of course, salt and freshly ground black pepper to taste. Finally, stir in 1 cup of your shredded cheese. Mix everything thoroughly until all the ingredients are well combined and evenly distributed, ensuring every bite will be packed with a delightful burst of flavor. Set this delicious mixture aside while you prepare your baking dish.
Prepare your baking vessel by pouring and spreading about 1/2 cup of your chosen enchilada sauce evenly across the bottom of a 9×13 inch baking dish. This initial layer not only infuses the bottom of the enchiladas with flavor but also helps to prevent the tortillas from sticking to the dish during baking, ensuring easy serving.
Step 3: Assembling Your Chicken Enchiladas
Now comes the most satisfying part – assembling the enchiladas! Lay your whole wheat tortillas out on a clean surface or a large plate. Take approximately 2-3 generous spoonfuls of the chicken filling and place it horizontally across the center of each tortilla. Be mindful not to overfill, as you want to be able to roll them neatly and securely. Carefully roll each tortilla tightly to completely enclose the delicious filling, then place it seam-side down in your prepared baking dish. Arrange them snugly side by side in a single layer. Continue this process until all your tortillas and the flavorful filling are used, which typically yields 8 enchiladas for a standard 9×13 inch baking dish.
Step 4: Adding the Signature Sauce and Cheesy Topping
Once all your enchiladas are neatly arranged and nestled in the baking dish, it’s time to give them their iconic saucy and cheesy finish. Drizzle the remaining 1/2 cup of enchilada sauce generously over the tops of the rolled tortillas, ensuring they are thoroughly coated for maximum flavor and moisture. Then, evenly sprinkle the remaining 1 cup of shredded cheese over the sauced enchiladas. This generous layer of cheese will melt and bubble, creating that irresistible golden-brown crust that everyone loves.
Step 5: Baking to Perfection and Serving
To ensure a perfectly cooked and melty result, cover the baking dish loosely with aluminum foil. This step helps to steam the enchiladas, ensuring the cheese melts beautifully without over-browning too quickly and that the filling heats evenly. Bake in your preheated 350°F (175°C) oven for 15-20 minutes, or until the cheese is wonderfully melted and bubbly, and the enchiladas are heated through and warm in the center. For those who prefer a slightly crisper, more golden cheese topping, carefully remove the foil for the last 5 minutes of baking.
Once out of the oven, allow the enchiladas to rest for a few minutes before serving. This brief resting period helps the cheese and sauce to set slightly, making them easier to portion and serve. Garnish generously with freshly chopped cilantro and sliced green onions for a burst of vibrant color and fresh flavor. These delightful enchiladas pair wonderfully with a side of fluffy Mexican rice, creamy refried beans, or a crisp green salad for a complete and satisfying meal. Store any leftovers in an airtight container in the refrigerator for up to 4 days.
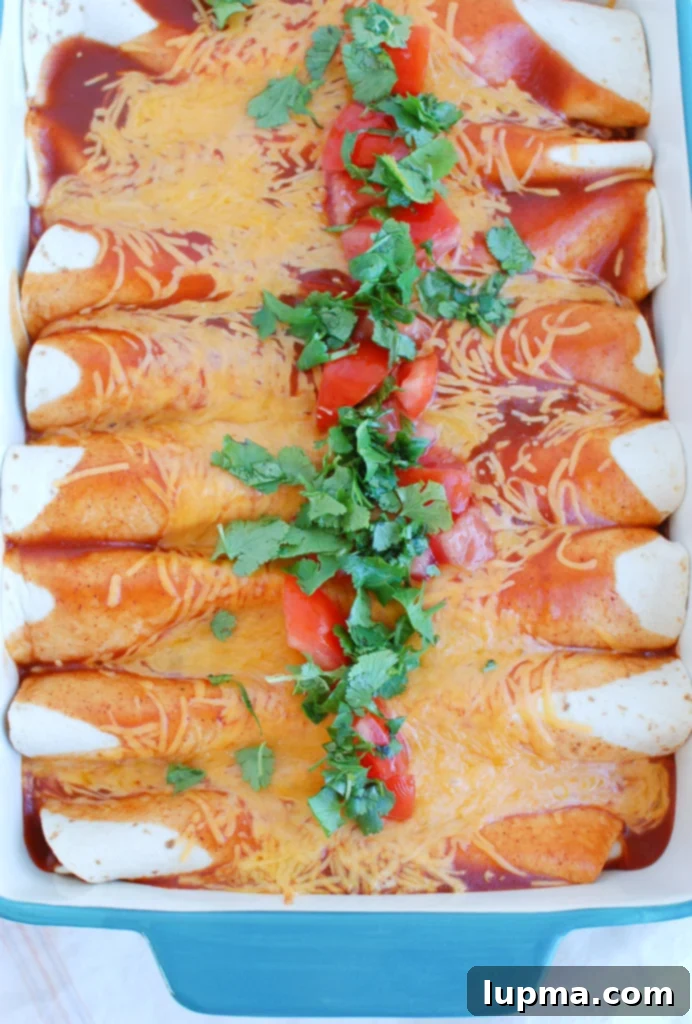
Customize Your Enchiladas: Exciting Recipe Variations and Topping Ideas
One of the most appealing aspects of this Easy Chicken Enchilada recipe is its incredible adaptability. While the classic version is undeniably delicious and a true crowd-pleaser, feel free to unleash your culinary creativity and tailor the ingredients to your personal taste preferences or simply use what you have readily available in your pantry and fridge. Here are some fantastic ways to personalize and elevate your next batch of enchiladas:
- Beans for Enhanced Heartiness: To significantly boost the fiber content, add extra texture, and make the meal even more substantial, consider incorporating various types of beans into your filling. Black beans, kidney beans, red beans, or pinto beans are all excellent choices. You can either mix them directly into the chicken filling for an even distribution or, for an extra layer of creamy richness, spread a thin layer of smooth refried beans onto the tortilla before adding the chicken mixture.
- A Symphony of Cheeses: Why limit yourself to just one type of cheese when you can enjoy a delightful blend? A combination of cheeses often yields the best flavor complexity and a wonderfully gooey melt. Beyond the classic sharp cheddar, consider adding Monterey Jack for its smooth melting properties, Pepper Jack for a delightful spicy kick, Cotija cheese (a salty, crumbly Mexican cheese) for a traditional topping after baking, or Colby for its mild and creamy finish. A pre-shredded Mexican blend cheese is always a convenient and delicious option.
- Vegetable Power-Up and Flavor Boosters: Incorporating more vegetables is a fantastic way to add essential nutrients, vibrant color, and diverse textures to your enchiladas. Feel free to use any color of bell pepper you prefer – red, yellow, or orange bell peppers will add a sweeter note compared to green. For a subtle smoky heat, try poblano peppers. Other delicious and popular vegetable additions include zucchini (grated or finely diced), sweet corn kernels, sliced mushrooms, roasted sweet potatoes (diced small), finely diced carrots, or even sautéed spinach. Finely chopped green onions or red onions can also add a sharper, more pungent flavor to the filling or as a garnish.
- Diverse Protein Alternatives: If you’re looking to switch things up from chicken, this recipe is incredibly forgiving and adaptable to other proteins. Ground chicken or lean ground turkey can be used for a lighter take on the dish. For a richer, more robust flavor, consider seasoned ground beef or even crumbled cooked sausage (Mexican chorizo works exceptionally well here, adding a distinct spice and zest!). Remember to cook and season these alternative proteins thoroughly before incorporating them into your enchilada filling.
- Garnishes and Toppings Galore: The right garnishes and toppings can truly elevate your enchiladas from great to extraordinary, adding freshness, creaminess, and extra flavor dimensions. After baking, feel free to load on your favorite fresh additions. Diced avocado or a dollop of creamy guacamole, fresh cilantro leaves, chopped tomatoes, a generous spoonful of sour cream or Greek yogurt, and a squeeze of fresh lime juice are all classic and highly recommended choices. For an extra burst of vibrant flavor, try a homemade salsa like fresh Pico de Gallo, a tangy and zesty Salsa Verde, or even some sweet and savory Cowboy Caviar. Quick pickled red onions add a delightful tangy crunch that cuts through the richness of the cheese.
- Sauce Exploration: While red enchilada sauce is the traditional and beloved choice, don’t hesitate to explore other sauce options. A vibrant and zesty green enchilada sauce (salsa verde) can offer a brighter, tangier, and often slightly spicier profile that complements chicken beautifully. You could even use a combination of both red and green sauces, swirling them together for a visually appealing “Christmas style” presentation.
These numerous variations demonstrate how truly versatile and customizable these chicken enchiladas are, empowering you to create a personalized and exciting meal experience every single time you prepare them.
Storage and Make-Ahead Tips for Convenient Enchiladas
These Easy Chicken Enchiladas are not only incredibly delicious when served fresh from the oven, but they also make fantastic leftovers and are an excellent candidate for efficient meal prepping. Proper storage techniques ensure that you can savor their comforting flavors for several days to come, or have a convenient, ready-to-bake meal prepared for a busy weeknight.
Storing Leftovers
To properly store any leftover baked enchiladas, allow them to cool completely to room temperature before transferring them to an airtight container. When stored correctly, they will maintain their deliciousness and freshness in the refrigerator for up to 4 days. When you’re ready to enjoy them again, you have a couple of reheating options. For a quick and easy single serving, you can warm individual portions in the microwave. For a more even heat distribution and a slightly crisper texture, reheat them in a preheated oven at 300°F (150°C) until thoroughly warmed through, which usually takes about 15-20 minutes, depending on the portion size.
Make-Ahead & Freezing Instructions
One of the greatest advantages of this recipe is its impressive make-ahead potential, which significantly streamlines meal preparation. You can assemble the enchiladas completely, up to the critical point of adding the final layer of enchilada sauce and cheese. Once the rolled, filled tortillas are snugly arranged in your baking dish, cover the dish tightly first with plastic wrap, and then with a layer of aluminum foil, ensuring no air can penetrate. These assembled enchiladas can be refrigerated for up to 24 hours. When you’re ready to bake, simply remove them from the fridge, add the remaining sauce and cheese, and bake as directed, possibly adding an extra 5-10 minutes to the baking time since they will be starting from a cold temperature.
For longer-term storage, these chicken enchiladas freeze exceptionally well. Assemble them in a freezer-safe baking dish (again, leaving off the final sauce and cheese layer). Wrap the dish very tightly with multiple layers of plastic wrap and then aluminum foil to prevent freezer burn and seal in freshness. They can be safely frozen for up to 2-3 months. When you’re ready to enjoy them, the best method is to thaw them overnight in the refrigerator. Once thawed, add the remaining sauce and cheese, and bake as directed, adjusting the baking time as needed for a cold dish. Alternatively, for a quicker approach, you can bake them directly from frozen, uncovered, at 350°F (175°C) for approximately 45-60 minutes, or until they are bubbly and heated through, adding the cheese for the last 15-20 minutes of baking to ensure a perfect melt.
This remarkable make-ahead flexibility also makes these enchiladas an ideal and thoughtful meal to bring to a friend or loved one. Simply prepare the assembled (but unbaked) enchiladas in a disposable baking pan, and package the remaining enchilada sauce and shredded cheese in separate, clearly labeled containers. Remember to include clear and concise baking instructions, and your friend will have a fresh, delicious, and deeply comforting meal with minimal effort on their part.
Explore More Delicious Mexican-Inspired Recipes
Chicken
Flavorful Chicken Tinga Recipe
Breakfast
Authentic Chilaquiles Rojos (Red Chilaquiles)
Beef
Slow Cooker Mexican Beef Brisket
Beef
Quick & Easy Mexican Zucchini
Tried this recipe? Leave a star rating and comment below! Subscribe to my newsletter or follow me on
Facebook,
Instagram, or
Pinterest for the latest.
Easy Chicken Enchiladas
Pin
Ingredients
- 4 boneless, skinless chicken breasts, cooked and shredded (or use a rotisserie chicken)
- 1 teaspoon dried thyme
- 1 bay leaf
- 1 can diced tomatoes, drained
- 2 cans diced green chiles, undrained (4 oz each)
- 1 medium green bell pepper, chopped (or use red, yellow, or orange bell pepper)
- 1/4 sweet onion, finely chopped
- 1 teaspoon ground cumin
- 1/4 teaspoon cayenne pepper , {or more to taste for extra spice}
- Salt and freshly ground black pepper to taste
- 2 cups shredded cheese , sharp cheddar recommended {divided, 1 cup for filling, 1 cup for topping}
- 1 cup red enchilada sauce, divided (1/2 cup for bottom, 1/2 cup for topping)
- 8 whole wheat tortillas, medium-sized
- Fresh cilantro and green onions, for garnish (optional)
Instructions
-
Preheat your oven to 350°F (175°C).
-
Prepare the Chicken: If using raw chicken breasts, place the four chicken breasts in a wide pan with a dash of salt, pepper, 1 bay leaf, and 1 teaspoon of thyme. Add enough water to cover the chicken by about 2 inches. Bring to a boil, then reduce heat to a simmer and cook for 10 minutes. Turn off the heat, cover, and let it sit for another 8-10 minutes, or until the chicken is cooked through (internal temperature of 165°F/74°C).
-
To shred the chicken: Use two forks to pull the chicken apart. Alternatively, for a quick method, place the cooked chicken breasts in a stand mixer and use the paddle attachment on low speed to shred them. If using a rotisserie chicken, simply shred the meat.
-
Create the Filling: In a large mixing bowl, combine the shredded chicken, drained diced tomatoes, diced green chiles (undrained for moisture), chopped green bell pepper, finely chopped sweet onion, cumin, cayenne pepper, salt, and black pepper. Stir in 1 cup of shredded cheese until well combined.
-
Prepare Baking Dish: Pour 1/2 cup of the enchilada sauce into a 9×13 inch baking dish and spread it evenly to coat the bottom.
-
Assemble Enchiladas: Lay out a tortilla on a clean surface. Place 2-3 spoonfuls of the chicken mixture into the center. Roll the tortilla tightly to enclose the filling and place it seam-side down in the prepared baking dish. Repeat with the remaining tortillas and filling, arranging them side by side.
-
Sauce and Cheese Topping: Drizzle the remaining 1/2 cup of enchilada sauce generously over the tops of the assembled enchiladas. Evenly sprinkle the remaining 1 cup of shredded cheese over the sauce.
-
Bake: Cover the baking dish loosely with aluminum foil. Bake in the preheated oven for 15-20 minutes, or until the cheese is melted and bubbly, and the enchiladas are warm throughout. For a golden cheese topping, remove the foil for the last 5 minutes of baking. Garnish with fresh cilantro and green onions before serving.
Notes
- Cheese Choices: You can use a variety of cheeses for this dish. I love mixing sharp cheddar with pepper jack cheese for a bit of spice, or a good Mexican blend.
- Make-Ahead Tip: To save time, you can assemble these enchiladas up until the step where you add the final layer of enchilada sauce and cheese. Cover the dish tightly and refrigerate for up to 24 hours. Add the sauce and cheese just before baking.
- Gifting Enchiladas: If preparing this meal for a friend, assemble the enchiladas (up to the point of adding the final sauce and cheese) in a disposable baking dish. Package the remaining enchilada sauce and shredded cheese in separate containers to be added by the recipient just before baking. Don’t forget to include clear baking instructions!
Nutrition
Nutrition information is automatically calculated, so should only be used as an approximation.
