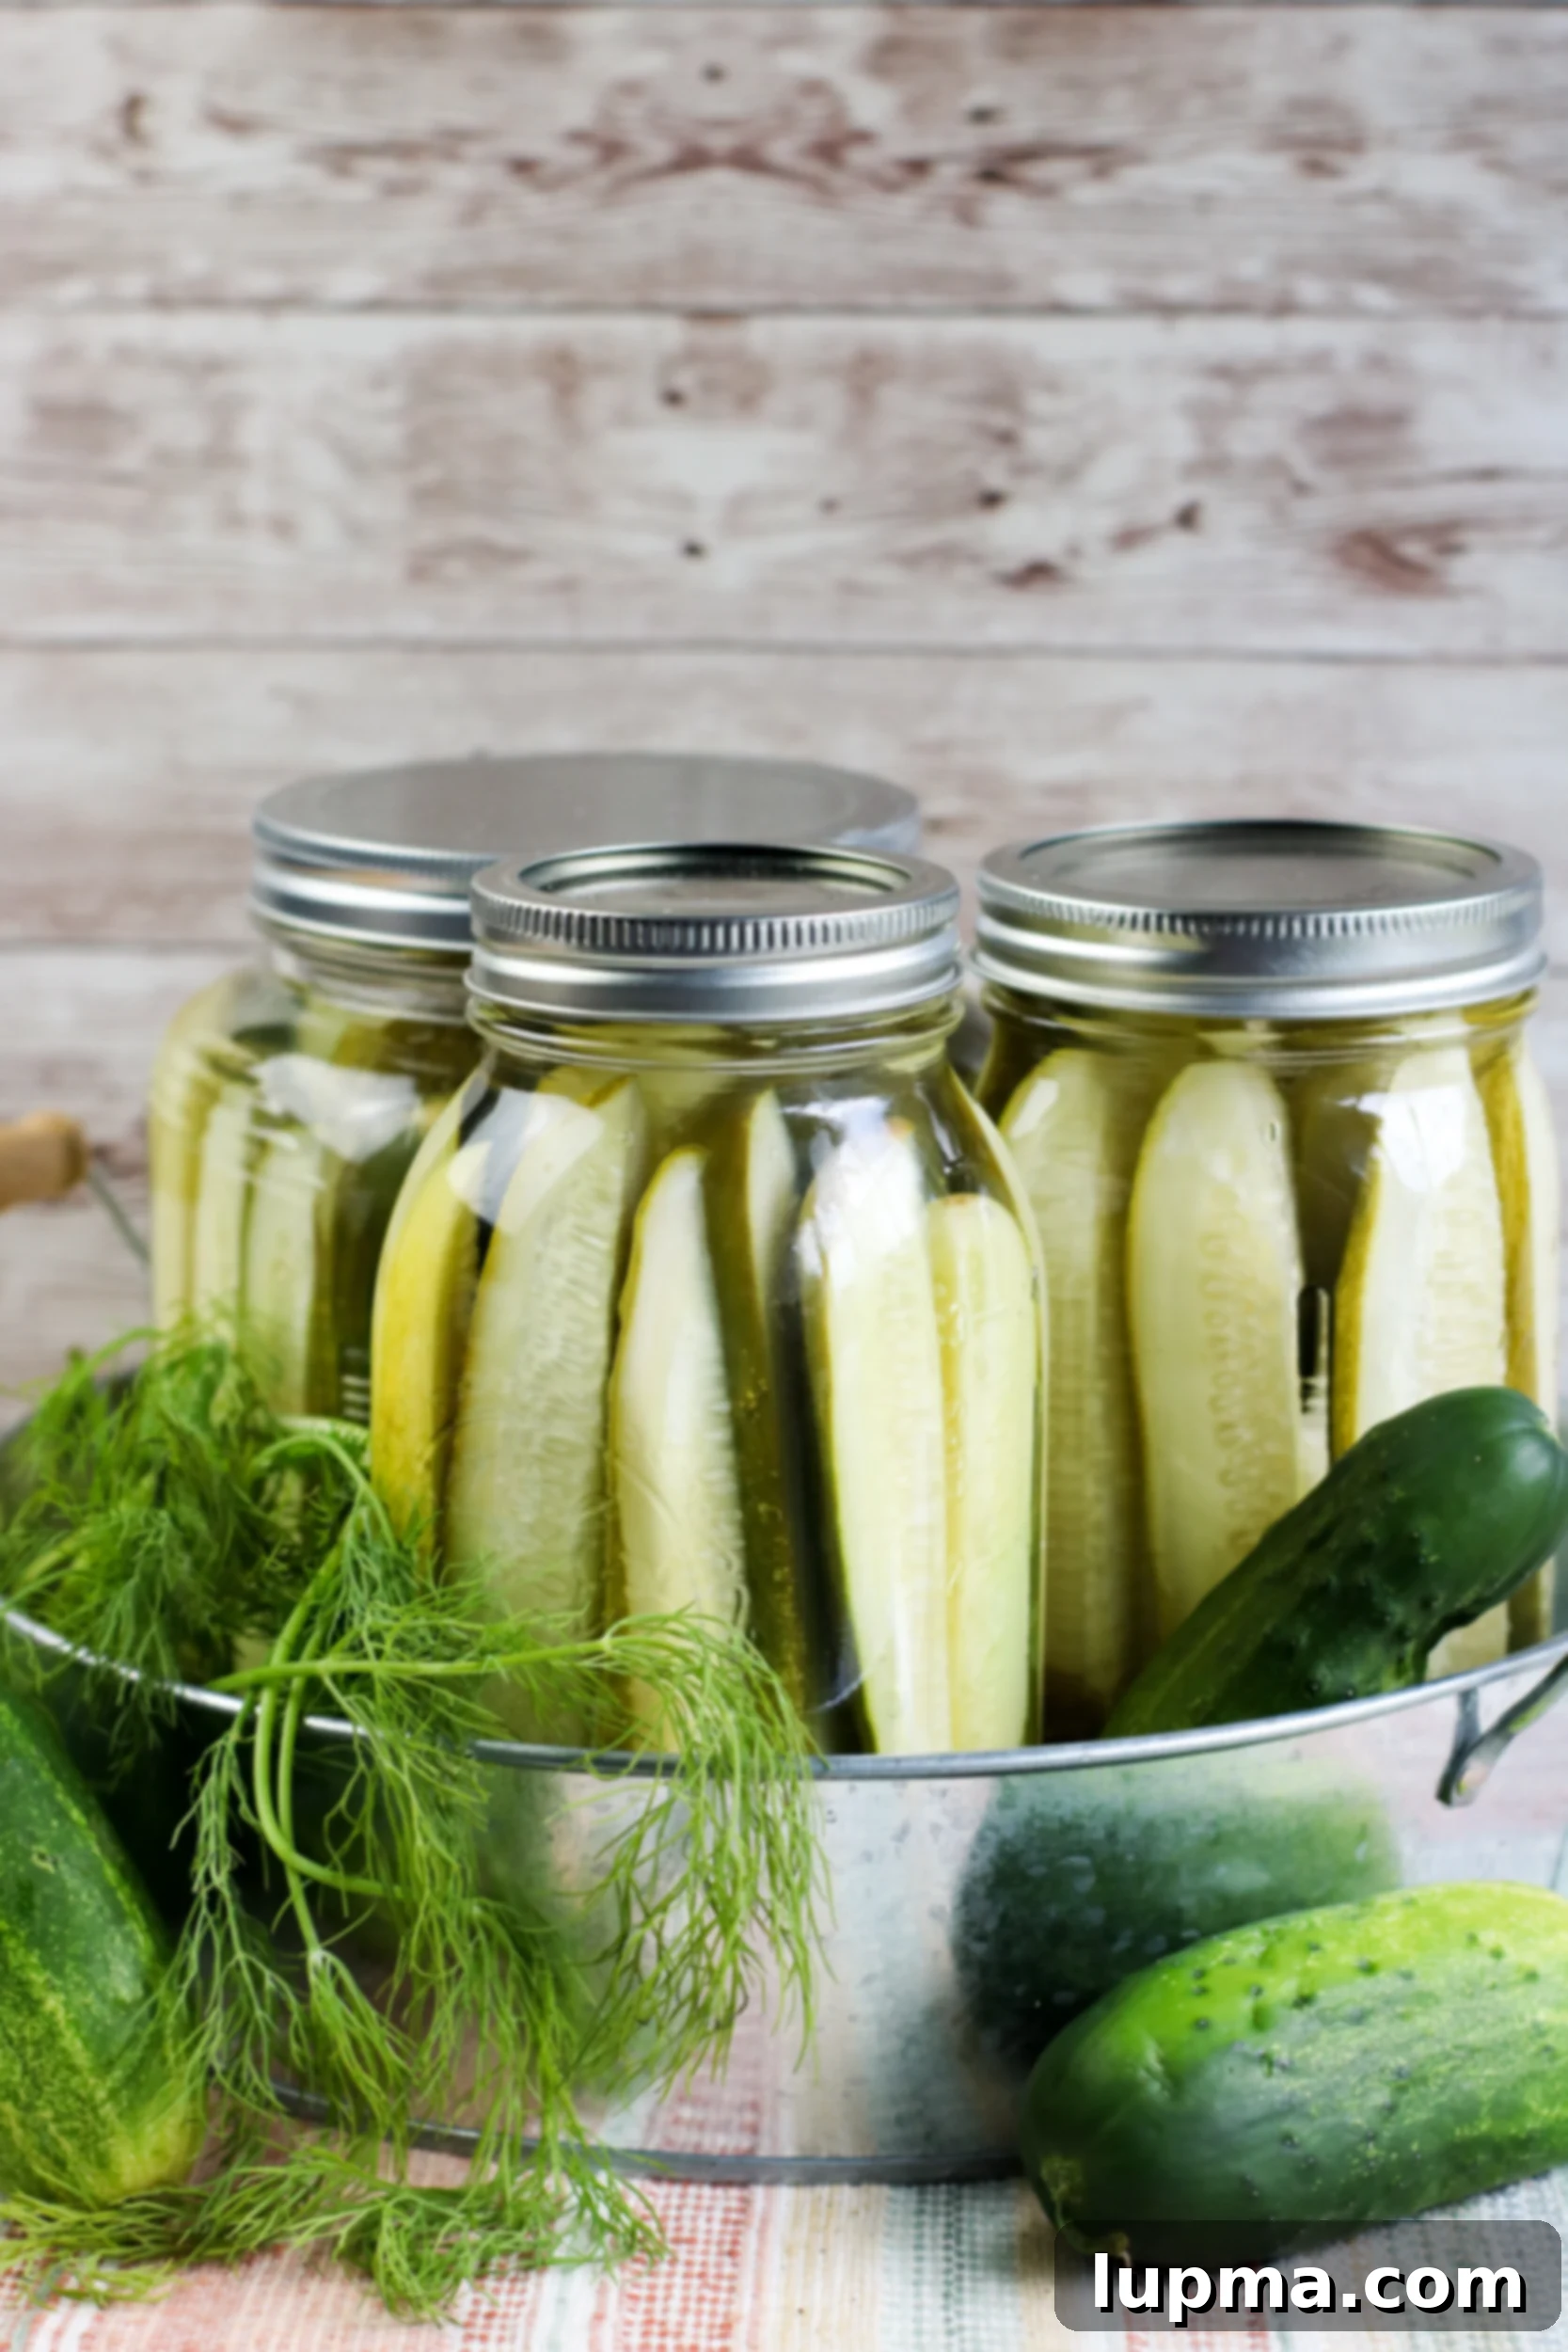
Easy Homemade Refrigerator Dill Pickles: Your Guide to Crisp, Flavorful & Quick Pickling
Discover how to effortlessly transform fresh cucumbers into irresistibly crisp and tangy Refrigerator Dill Pickles. This simple recipe is the perfect solution for using up an abundance of garden or farmers market cucumbers. Whether you prefer them as chips or spears, these pickles are infused with a delightful vinegar mixture, enhanced by sugar, fresh garlic, and aromatic dill. The best part? They’re ready to enjoy in just 3 days, making them an ideal condiment for sandwiches, a topping for juicy burgers, or a refreshing snack all on their own. Say goodbye to complicated canning and hello to delicious, homemade pickles straight from your fridge!
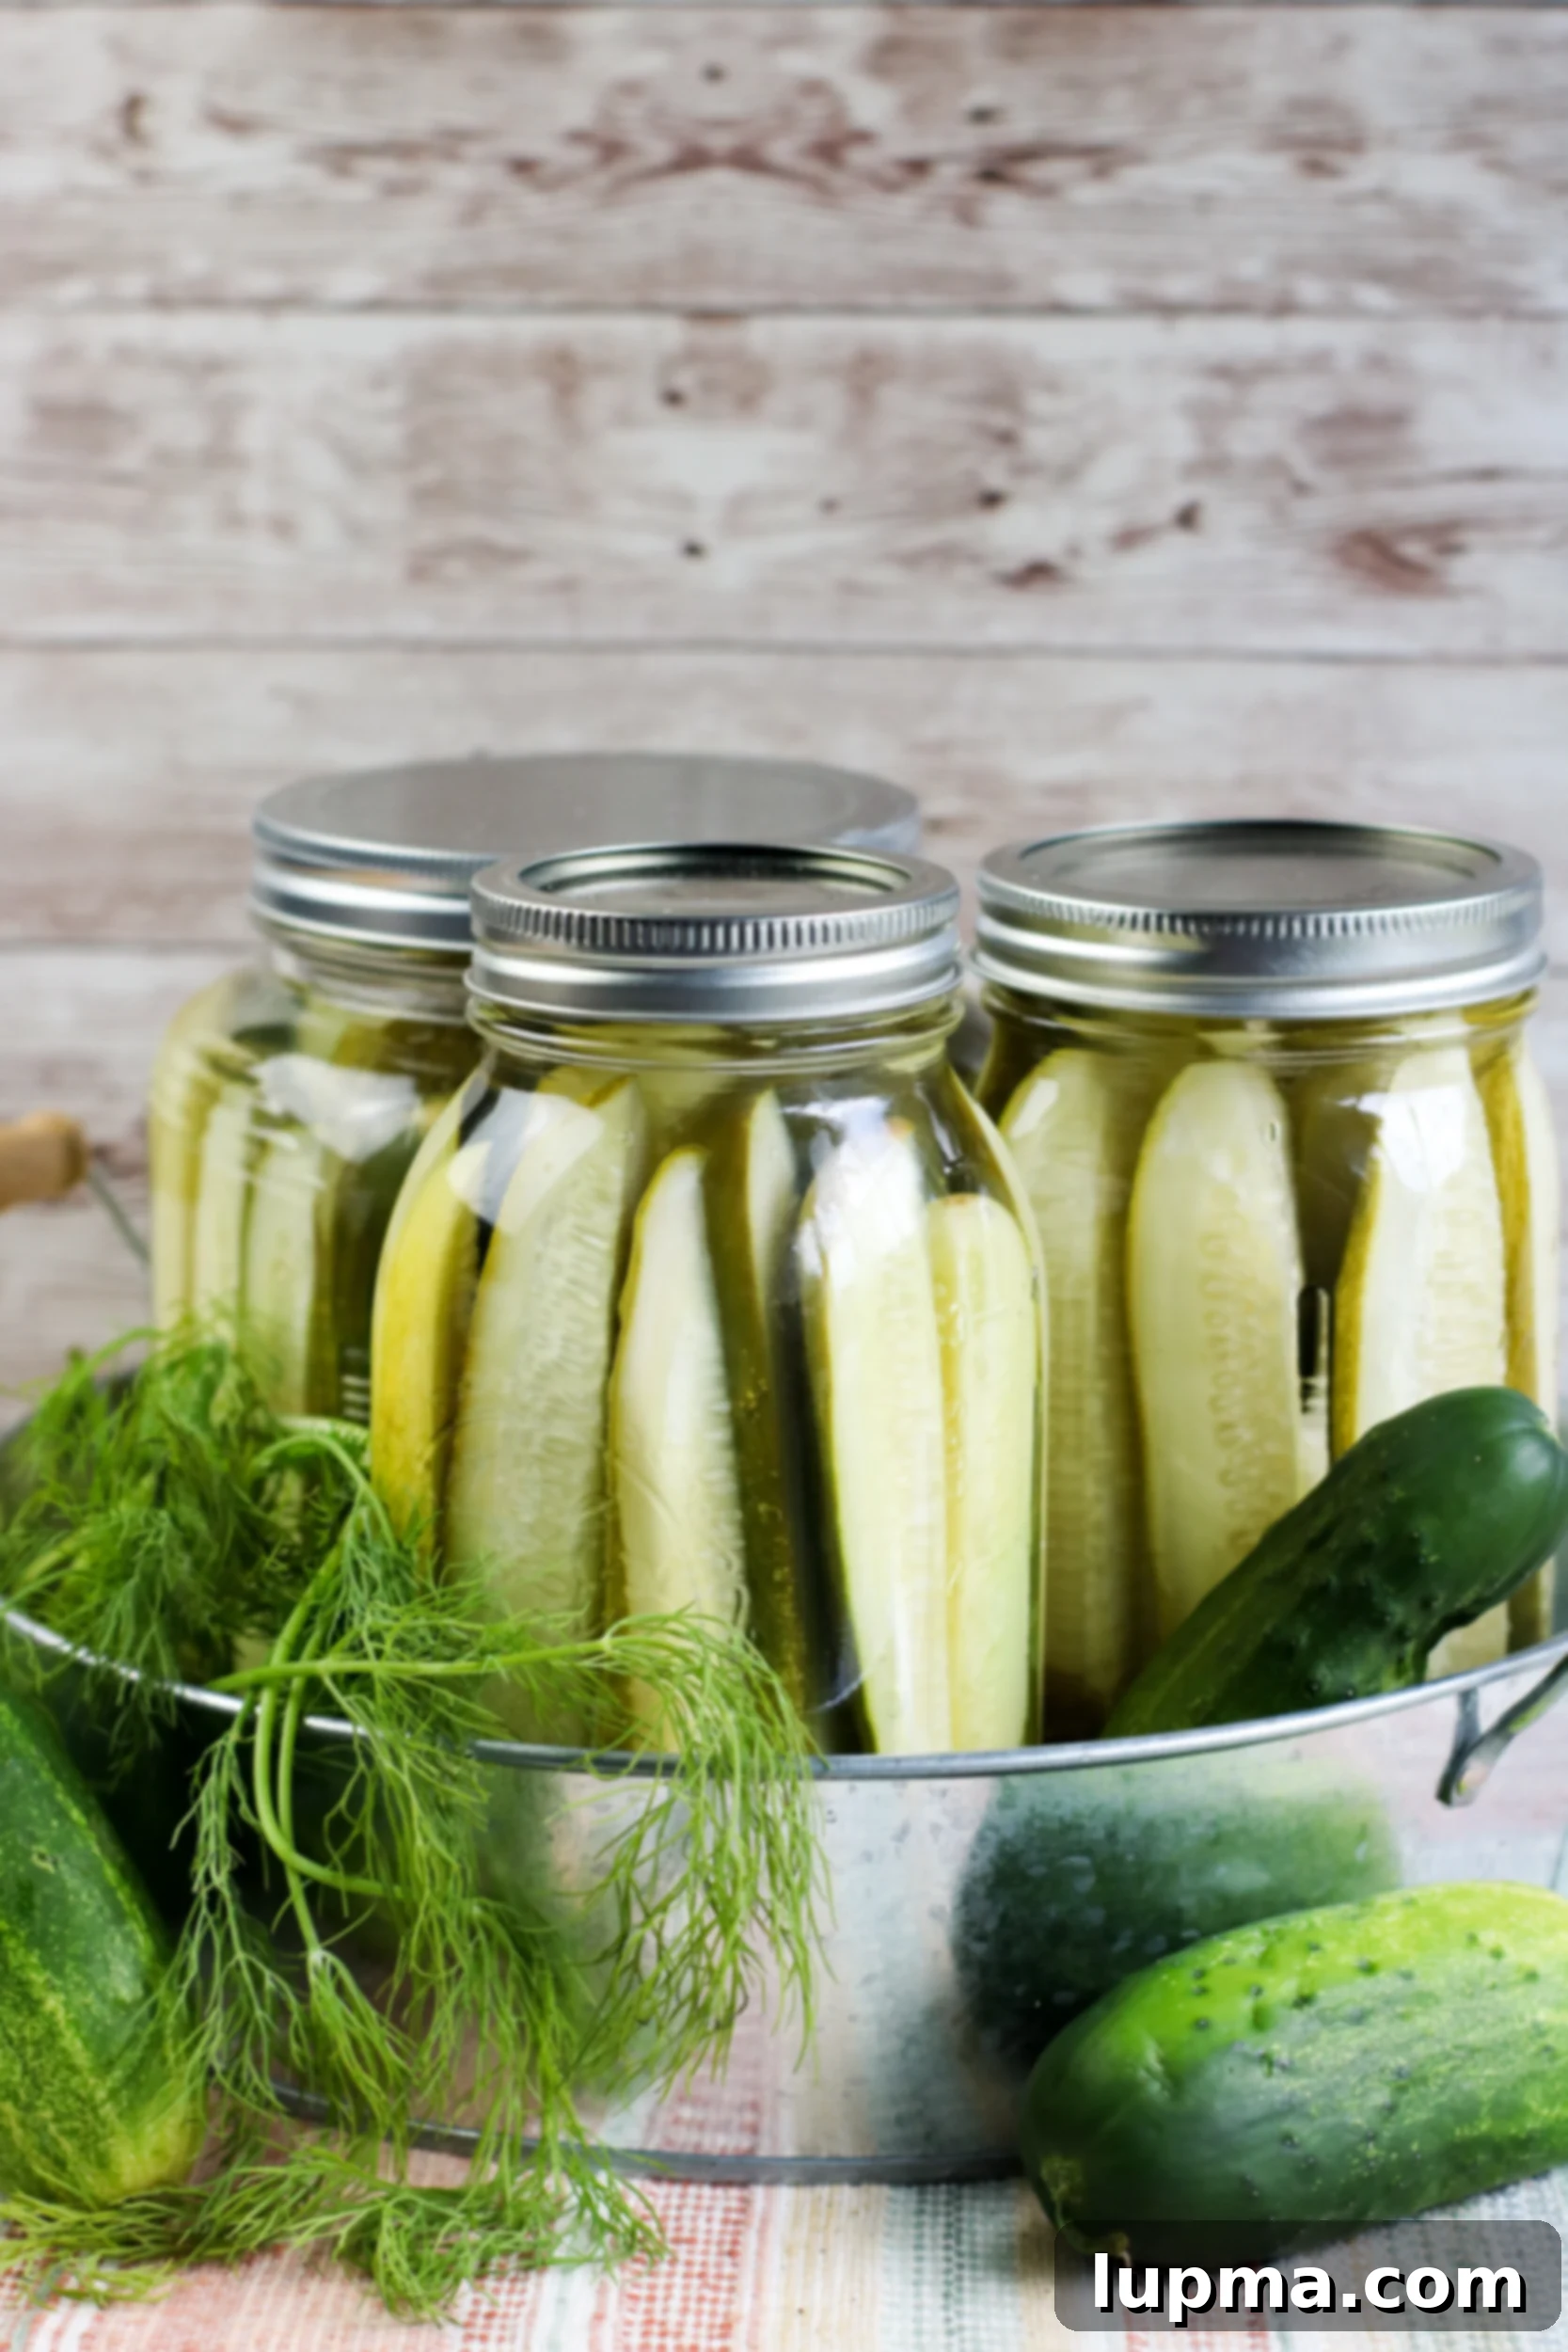
Introduction to Refrigerator Dill Pickles
As summer ripens and transitions into late summer, gardens overflow with an abundance of fresh, crisp cucumbers. Likewise, a stroll through any farmers market reveals bountiful displays of these versatile vegetables, practically begging to be preserved. If you, like me, have an undeniable love for pickles, then this recipe for homemade Refrigerator Dill Pickles is an absolute must-try.
What makes this method so appealing is its remarkable ease and speed. Unlike traditional shelf-stable pickles that require extensive canning processes and longer fermentation times, these refrigerator pickles are ready to tantalize your taste buds in as little as three days. It’s a low-effort, high-reward approach to enjoying fresh, tangy pickles whenever the craving strikes.
This recipe provides a foundational brine, rich with classic pickling ingredients. However, it also offers immense flexibility. You can easily adjust the quantities of garlic and dill to match your personal preference for intensity. Feeling adventurous? Kick up the heat by adding sliced jalapeños or fiery habaneros for a spicy twist. The possibilities for customization are endless, allowing you to create your signature dill pickle blend.
I find these homemade dill pickles to be indispensable. They are always on hand to elevate my favorite sandwiches, add a zesty crunch to wraps, perfectly complement burgers, or simply serve as a delightful, crisp snack.
What is a Pickle and Why Refrigerator Pickles?
At its core, a pickle is a cucumber (or any vegetable) that has been preserved in an acidic solution. This process, known as pickling, significantly extends the shelf life of the produce while also imparting unique flavors and textures. Traditionally, pickling often involved fermentation, where microorganisms break down sugars to produce lactic acid, contributing to the distinct sour taste. However, for refrigerator pickles, we employ a simpler, quicker method.
In this recipe, cucumbers are submerged in a pickling brine primarily composed of vinegar, alongside other flavor-enhancing ingredients like garlic and dill. The high acidity of the vinegar prevents spoilage, effectively “pickling” the cucumbers without the need for fermentation or the elaborate water-bath canning required for shelf-stable jars. This acidic environment not only preserves the cucumbers but also infuses them with the vibrant, tangy, and savory notes we associate with delicious dill pickles.
Many home cooks can pickles that can be stored at room temperature for extended periods. This involves a more rigorous sterilization and sealing process. However, our focus here is on refrigerator dill pickles, which offer a much more accessible and less time-consuming alternative. The primary advantage of refrigerator pickles lies in their rapid preparation and quick turnaround time. There’s no need for special canning equipment or complex sterilization techniques beyond ensuring clean jars. This makes them an excellent choice for beginners or anyone looking for a fast way to enjoy homemade pickles with a fresh, bright flavor profile that often surpasses their canned counterparts.
You’ll appreciate the simplicity and speed of this recipe. It allows you to transform a surplus of fresh cucumbers into delightful pickles within days, ready to be enjoyed straight from your fridge, offering a fantastic alternative to the longer, more involved process of creating shelf-stable preserves.
Key Ingredients for Crisp Refrigerator Dill Pickles
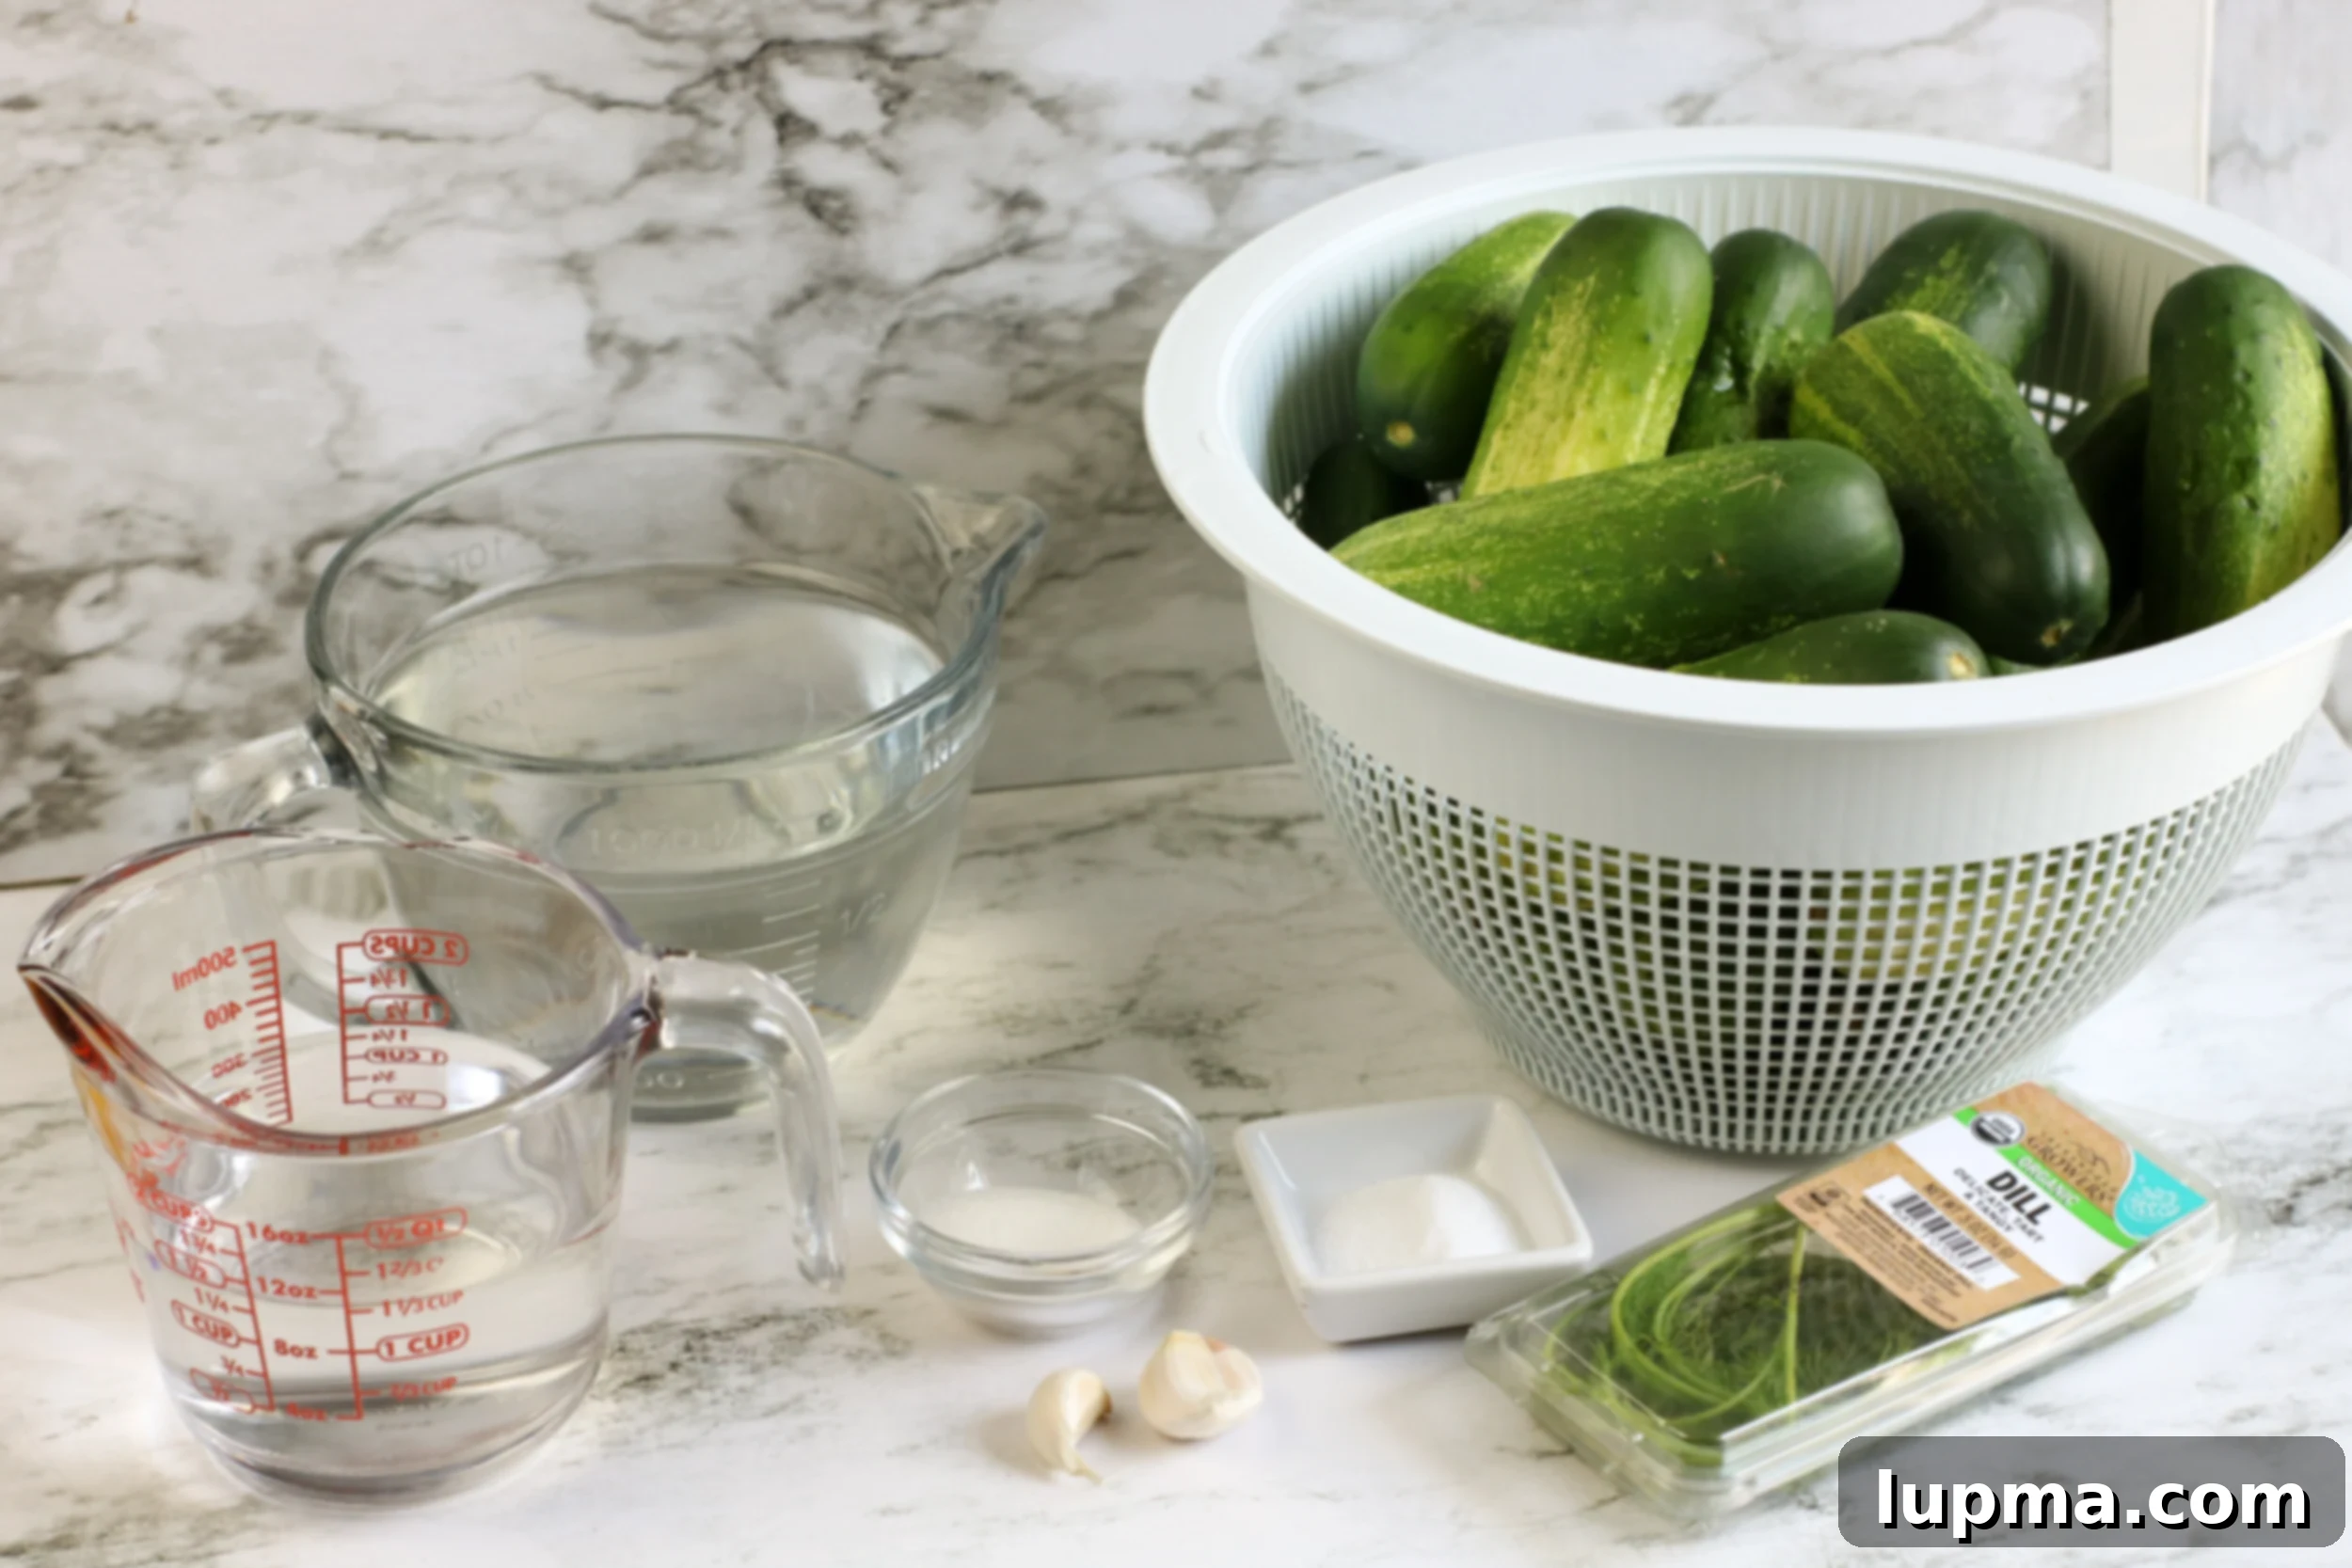
Crafting perfect refrigerator dill pickles starts with understanding the role of each ingredient. Here’s a breakdown of what you’ll need:
-
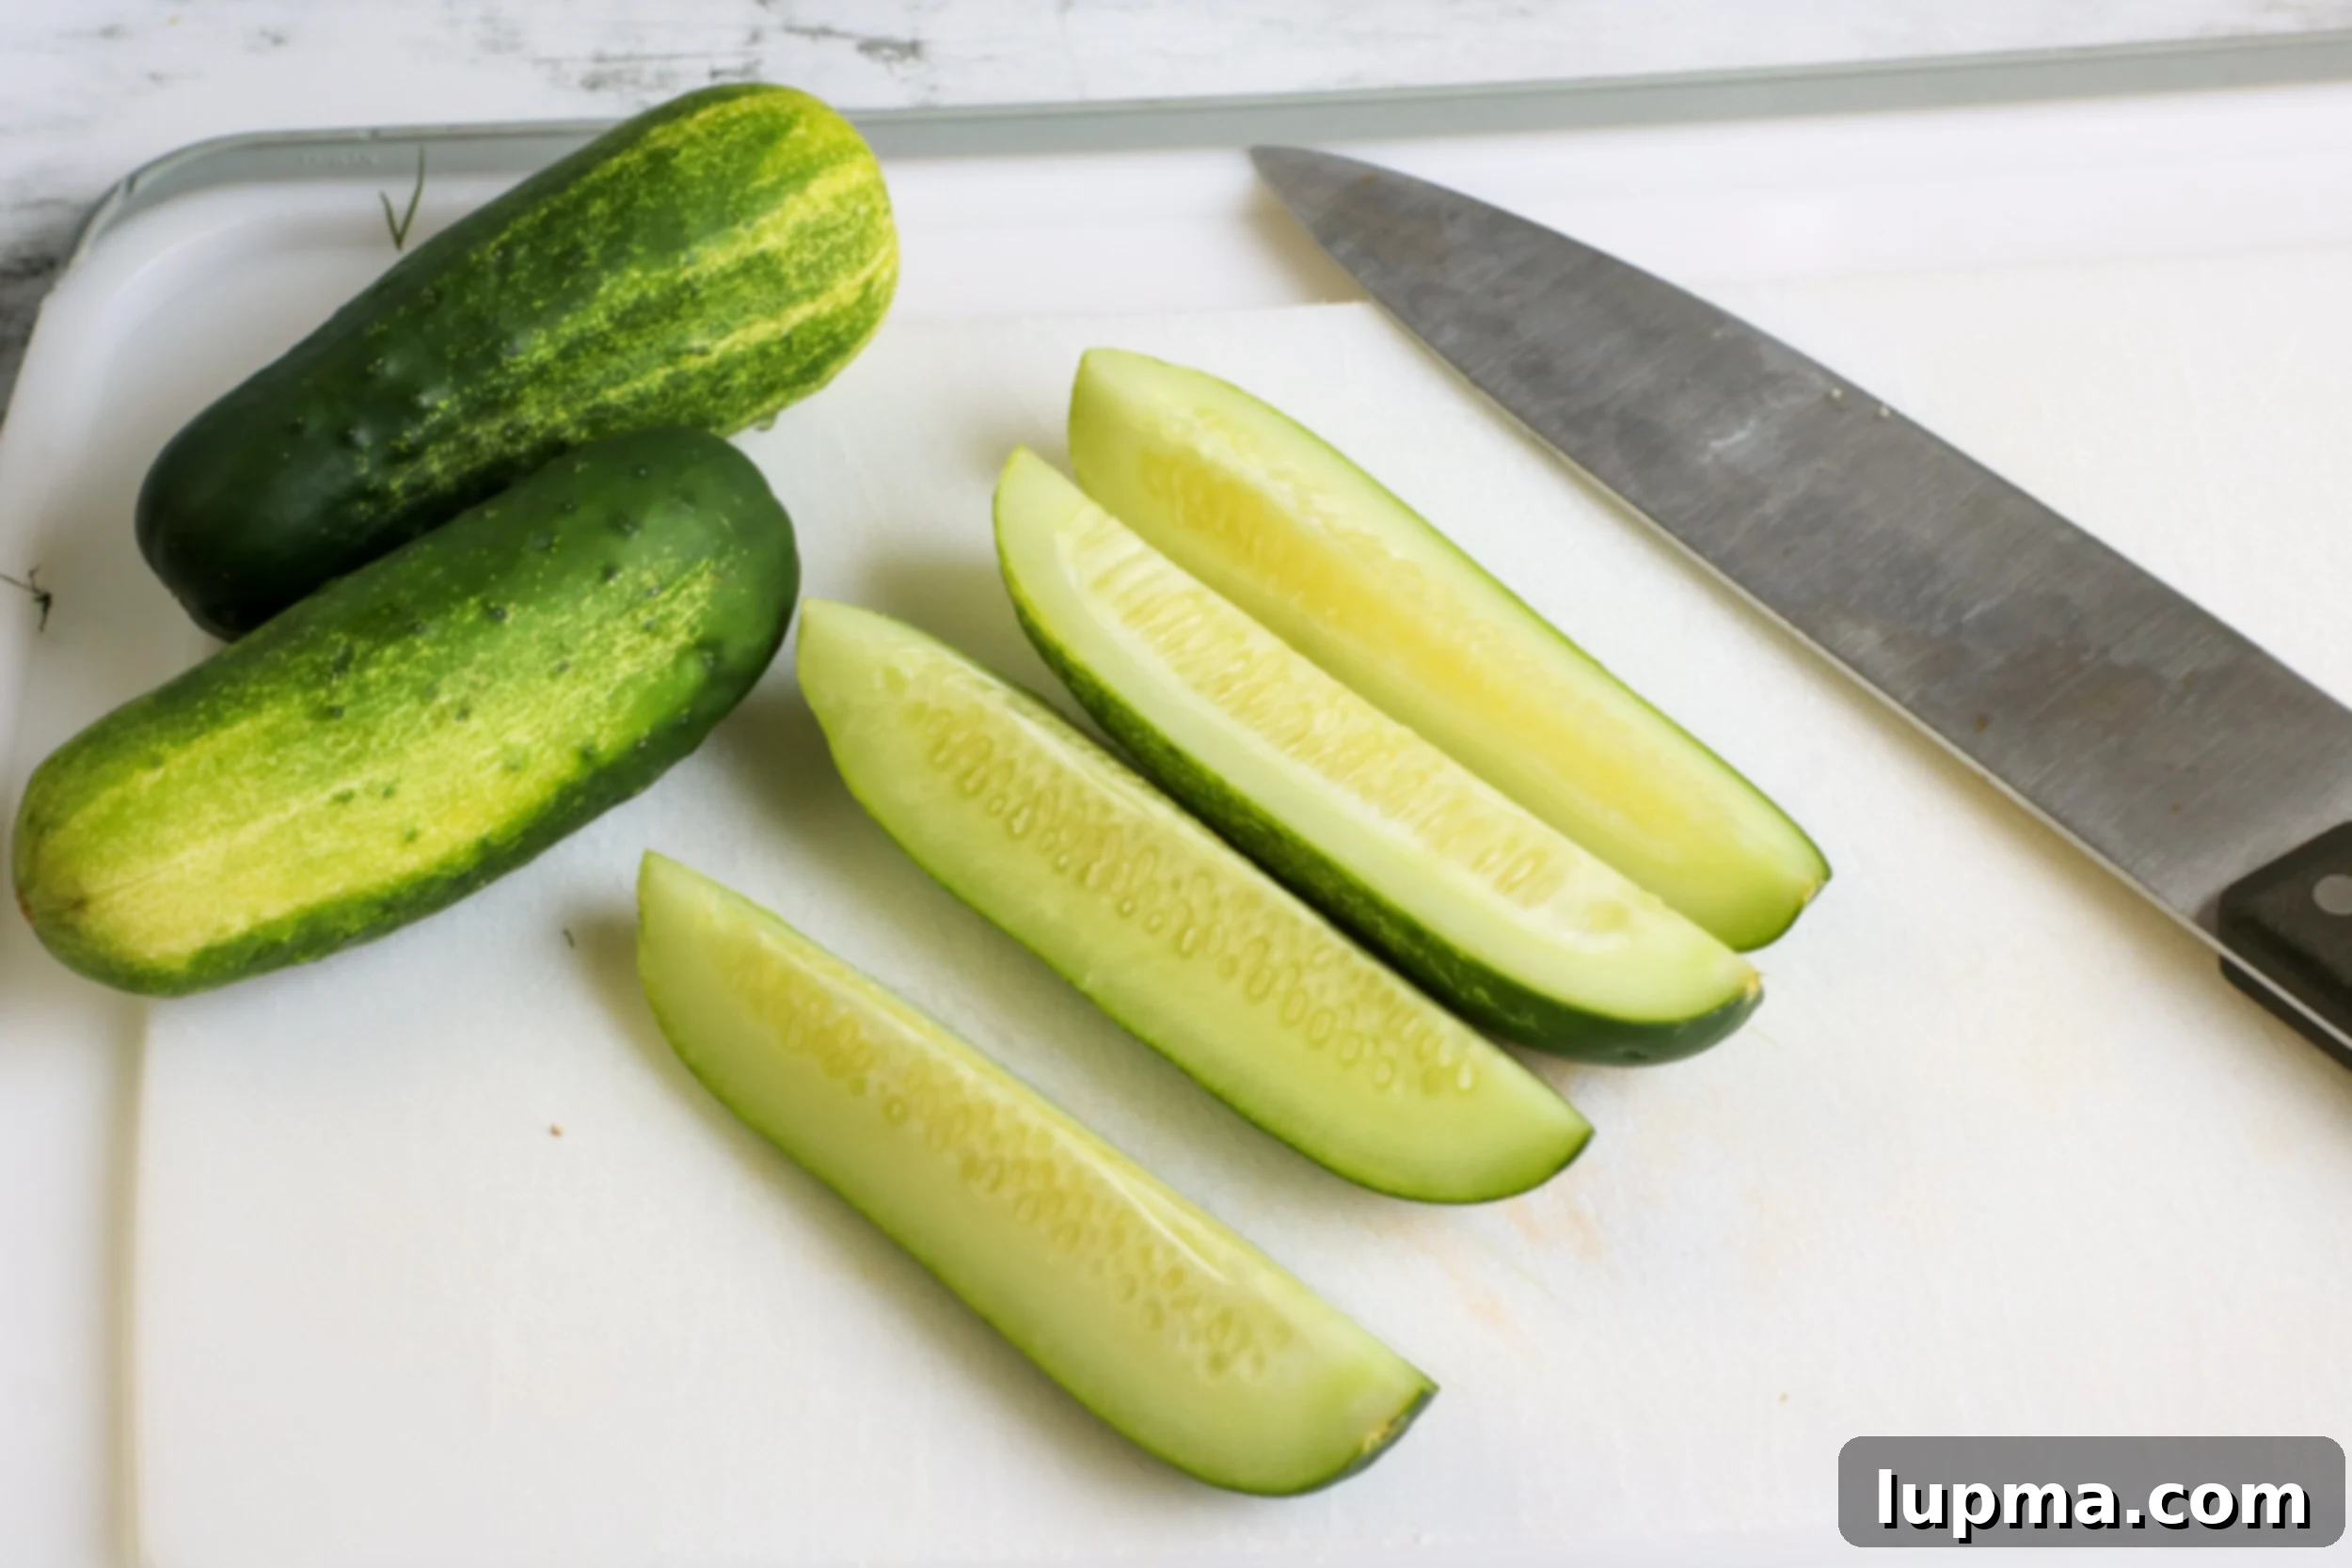
Cucumbers: The star of our show! For the best results, opt for thin-skinned varieties like Kirby, English, or Persian cucumbers. These varieties tend to be crisper and absorb the pickling liquid more effectively. Look for firm, fresh cucumbers without blemishes. You’ll need about 2 pounds, which typically yields enough for 2-3 standard mason jars. Quartering them lengthwise is a popular choice for spears, but you can also slice them into rounds or crinkle cuts.
-
Water: The base of our brine. Using filtered water can sometimes yield a cleaner taste, though tap water is usually fine. The quantity, usually around 3 1/2 cups, is crucial for creating enough brine to submerge your cucumbers.
-
White Vinegar: This is the primary acidic component that pickles the cucumbers. Distilled white vinegar (5% acidity) is standard for its clean, sharp flavor that doesn’t overpower the dill. Avoid using vinegars with lower acidity as they may not safely preserve the pickles. Apple cider vinegar can be used for a slightly fruitier, milder flavor, but stick to 5% acidity. You’ll typically need about 1 1/4 cups.
-
Sugar: A touch of sugar helps to balance the sharp acidity of the vinegar and enhances the overall flavor profile, creating that classic sweet and sour balance found in many dill pickles. Granulated sugar is perfectly fine, about 1 tablespoon is usually sufficient.
-
Canning & Pickling Salt: This specific type of salt is crucial for pickling. It’s pure salt, free from anti-caking agents and iodine found in table salt, which can make your brine cloudy and potentially alter the flavor and color of your pickles. About 2 tablespoons are needed.
-
Garlic: Fresh garlic cloves are essential for imparting that classic savory dill pickle flavor. Peeled and crushed cloves (around 4 for this recipe) release their aroma and taste beautifully into the brine. You can adjust the amount based on your preference for a milder or more robust garlic kick.
-
Fresh Dill: The namesake ingredient! Fresh dill sprigs or dill heads are preferred for their bright, herbaceous notes. If fresh dill isn’t available, you can substitute with dill seeds (about 1 teaspoon per jar), but the flavor won’t be quite as vibrant. Aim for about 4 sprigs or small heads.
Step-by-Step Guide: How to Make Refrigerator Dill Pickles
Making these quick dill pickles is wonderfully straightforward. Follow these simple steps for perfect results:
Step 1: Prepare the Brine Mixture
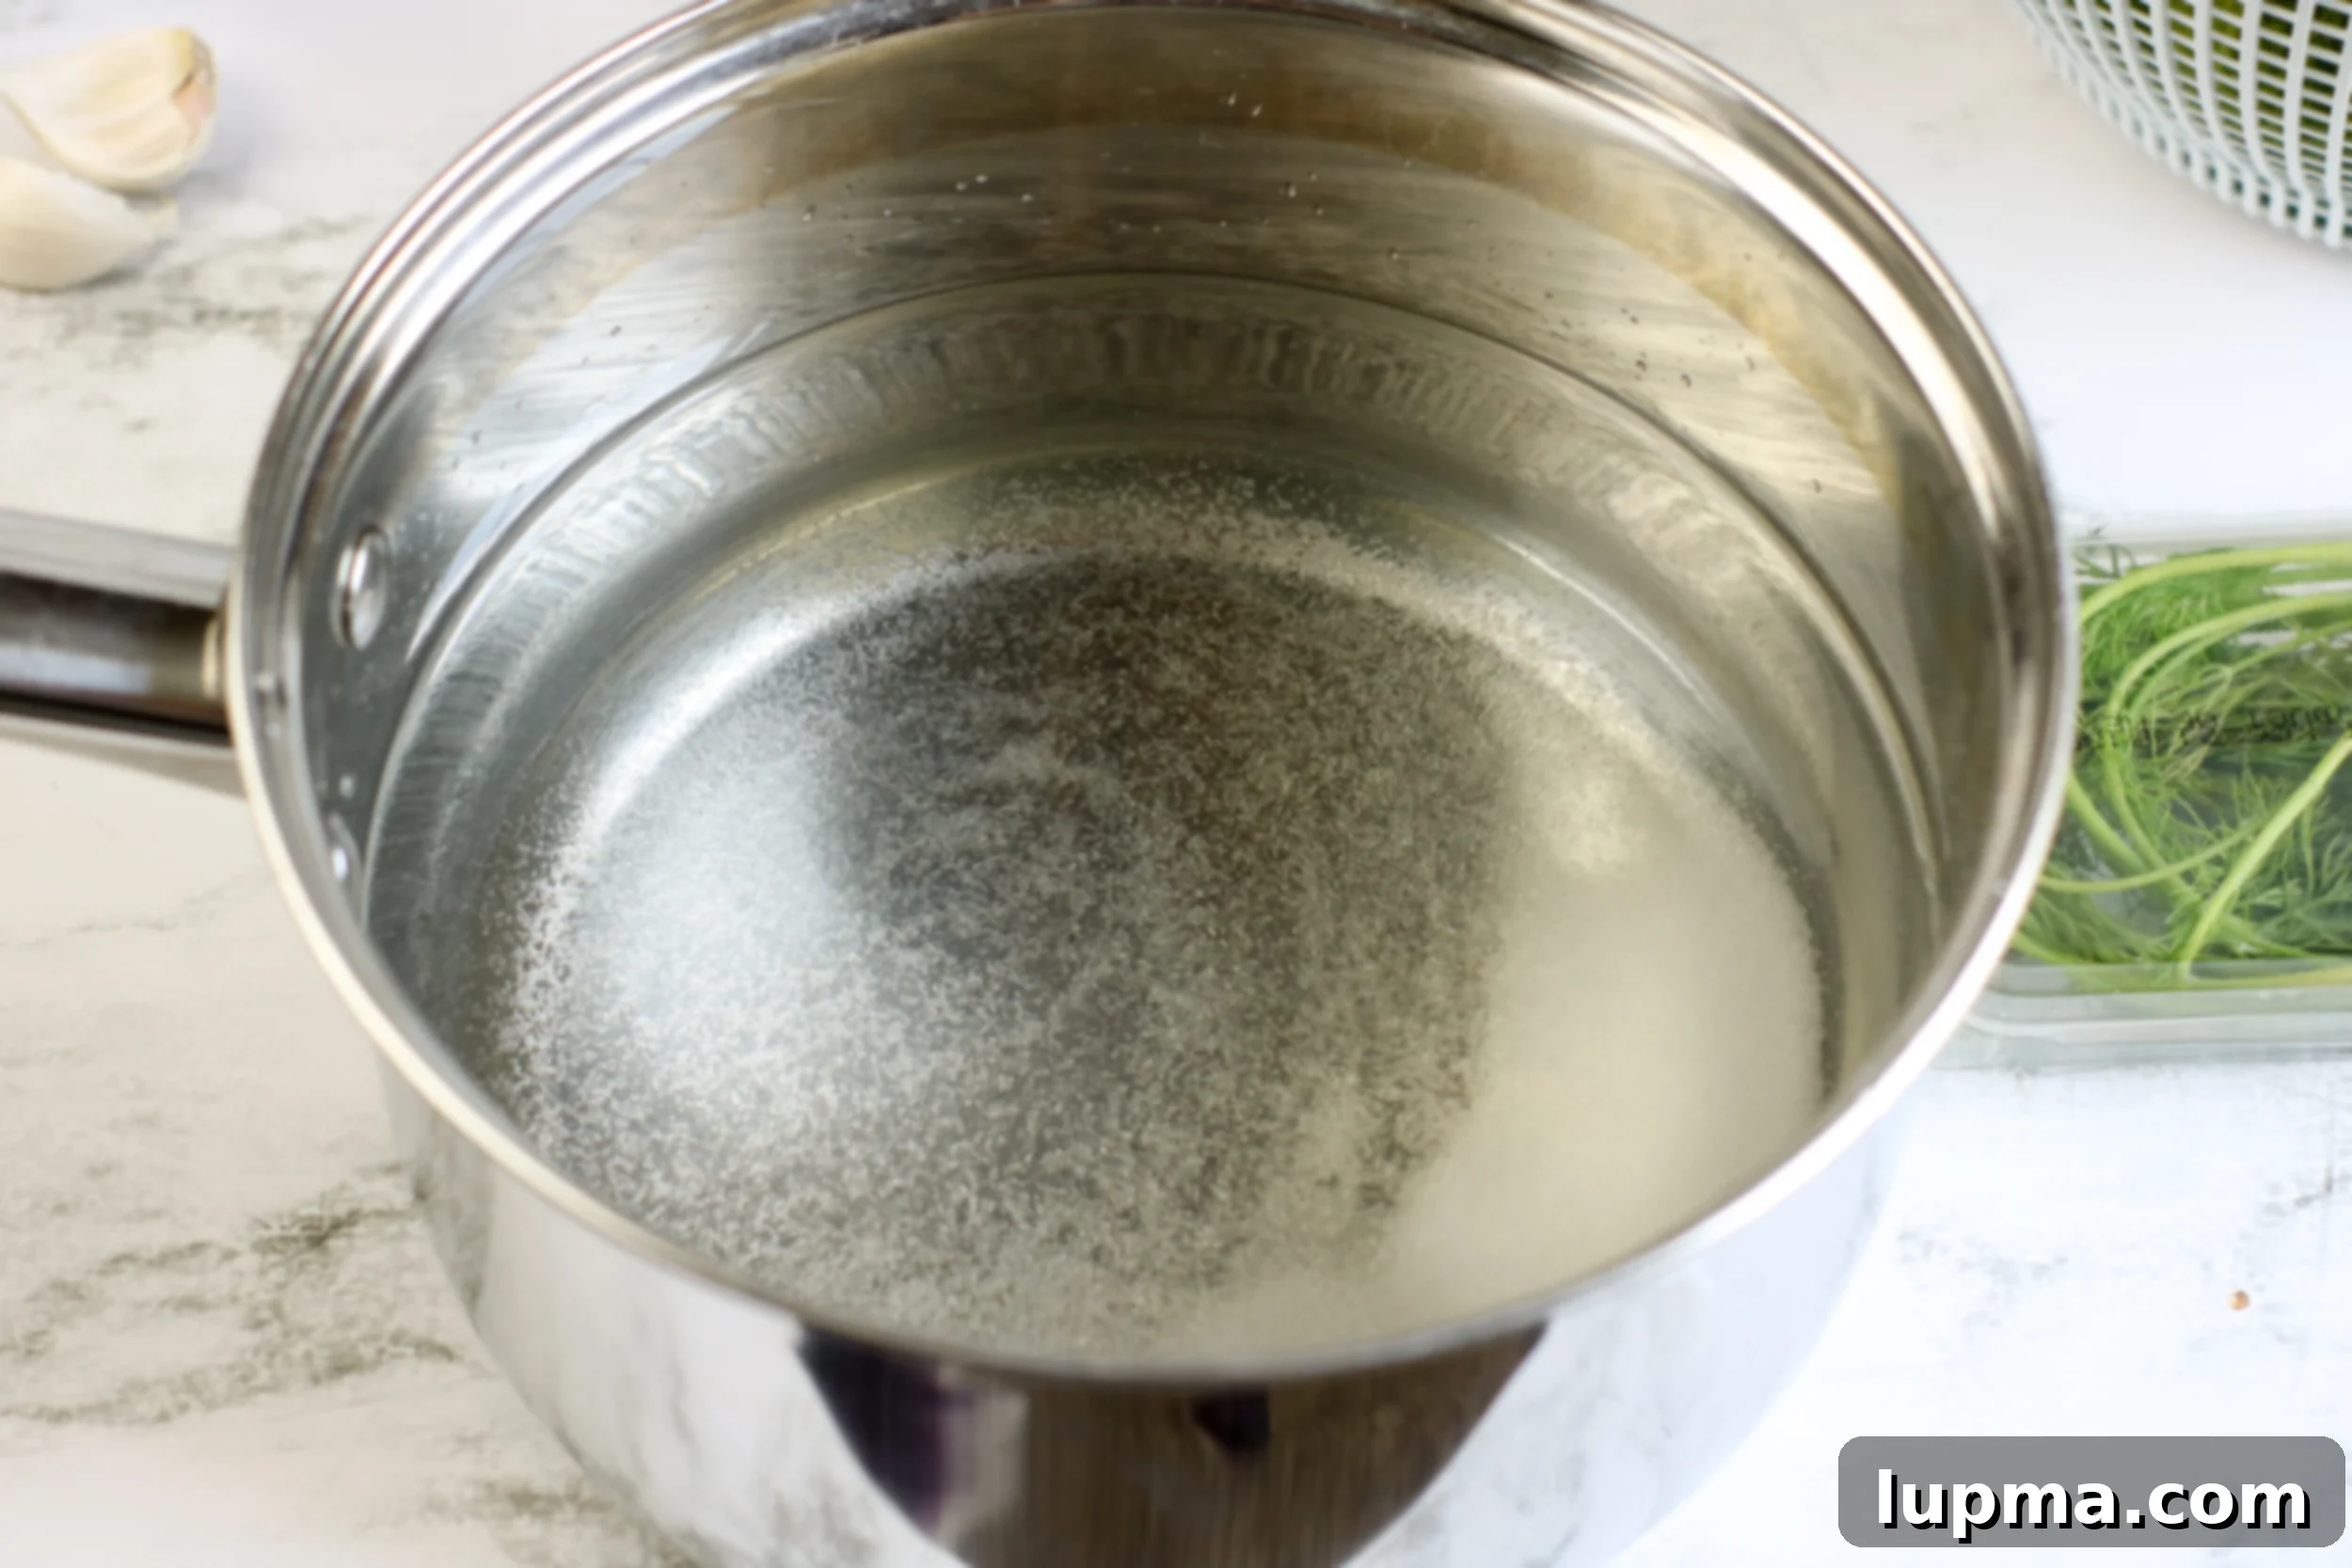
In a medium saucepan, combine the water, white vinegar, sugar, and pickling salt. Place the saucepan over high heat and bring the mixture to a rolling boil. Stir occasionally to ensure that both the sugar and salt fully dissolve into the liquid. This creates your essential pickling brine.
Step 2: Cool the Brine Slightly
Once the brine has come to a boil and the solids are dissolved, remove the pan from the heat. Allow the mixture to cool slightly. It doesn’t need to be completely cold, but it shouldn’t be scalding hot when poured over the fresh cucumbers. This helps maintain the crispness of the cucumbers.
Step 3: Prepare and Pack the Jars
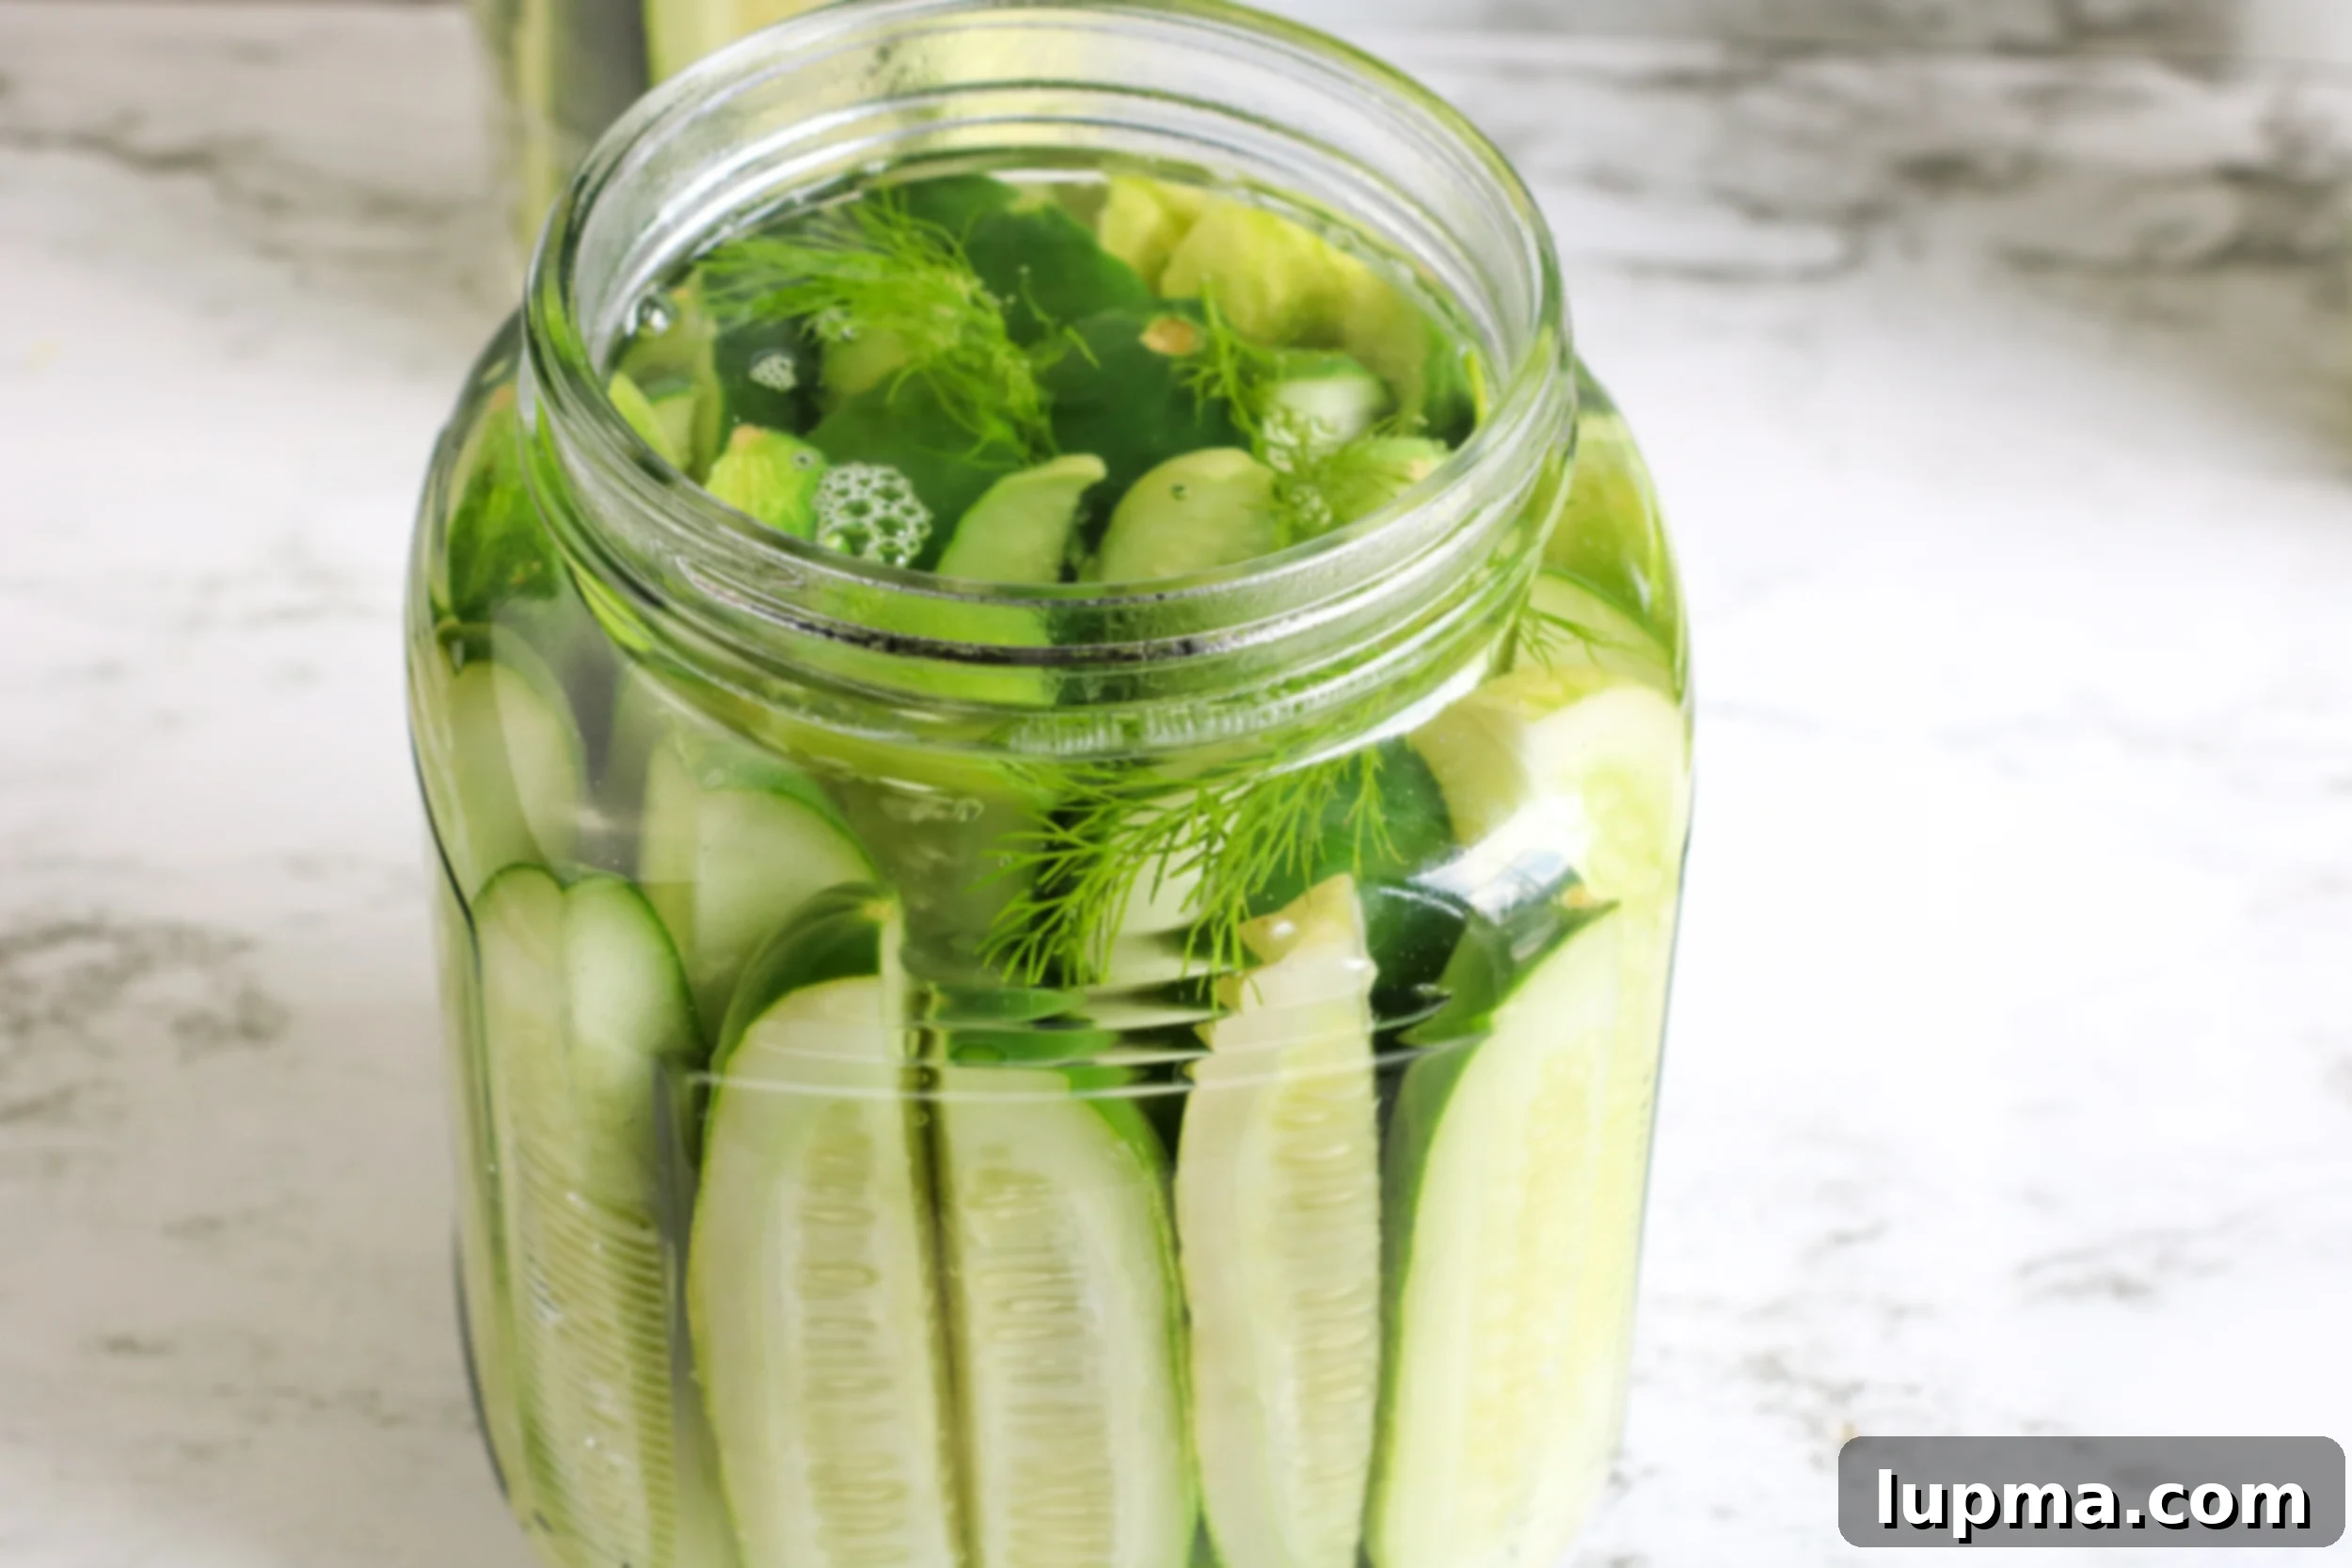
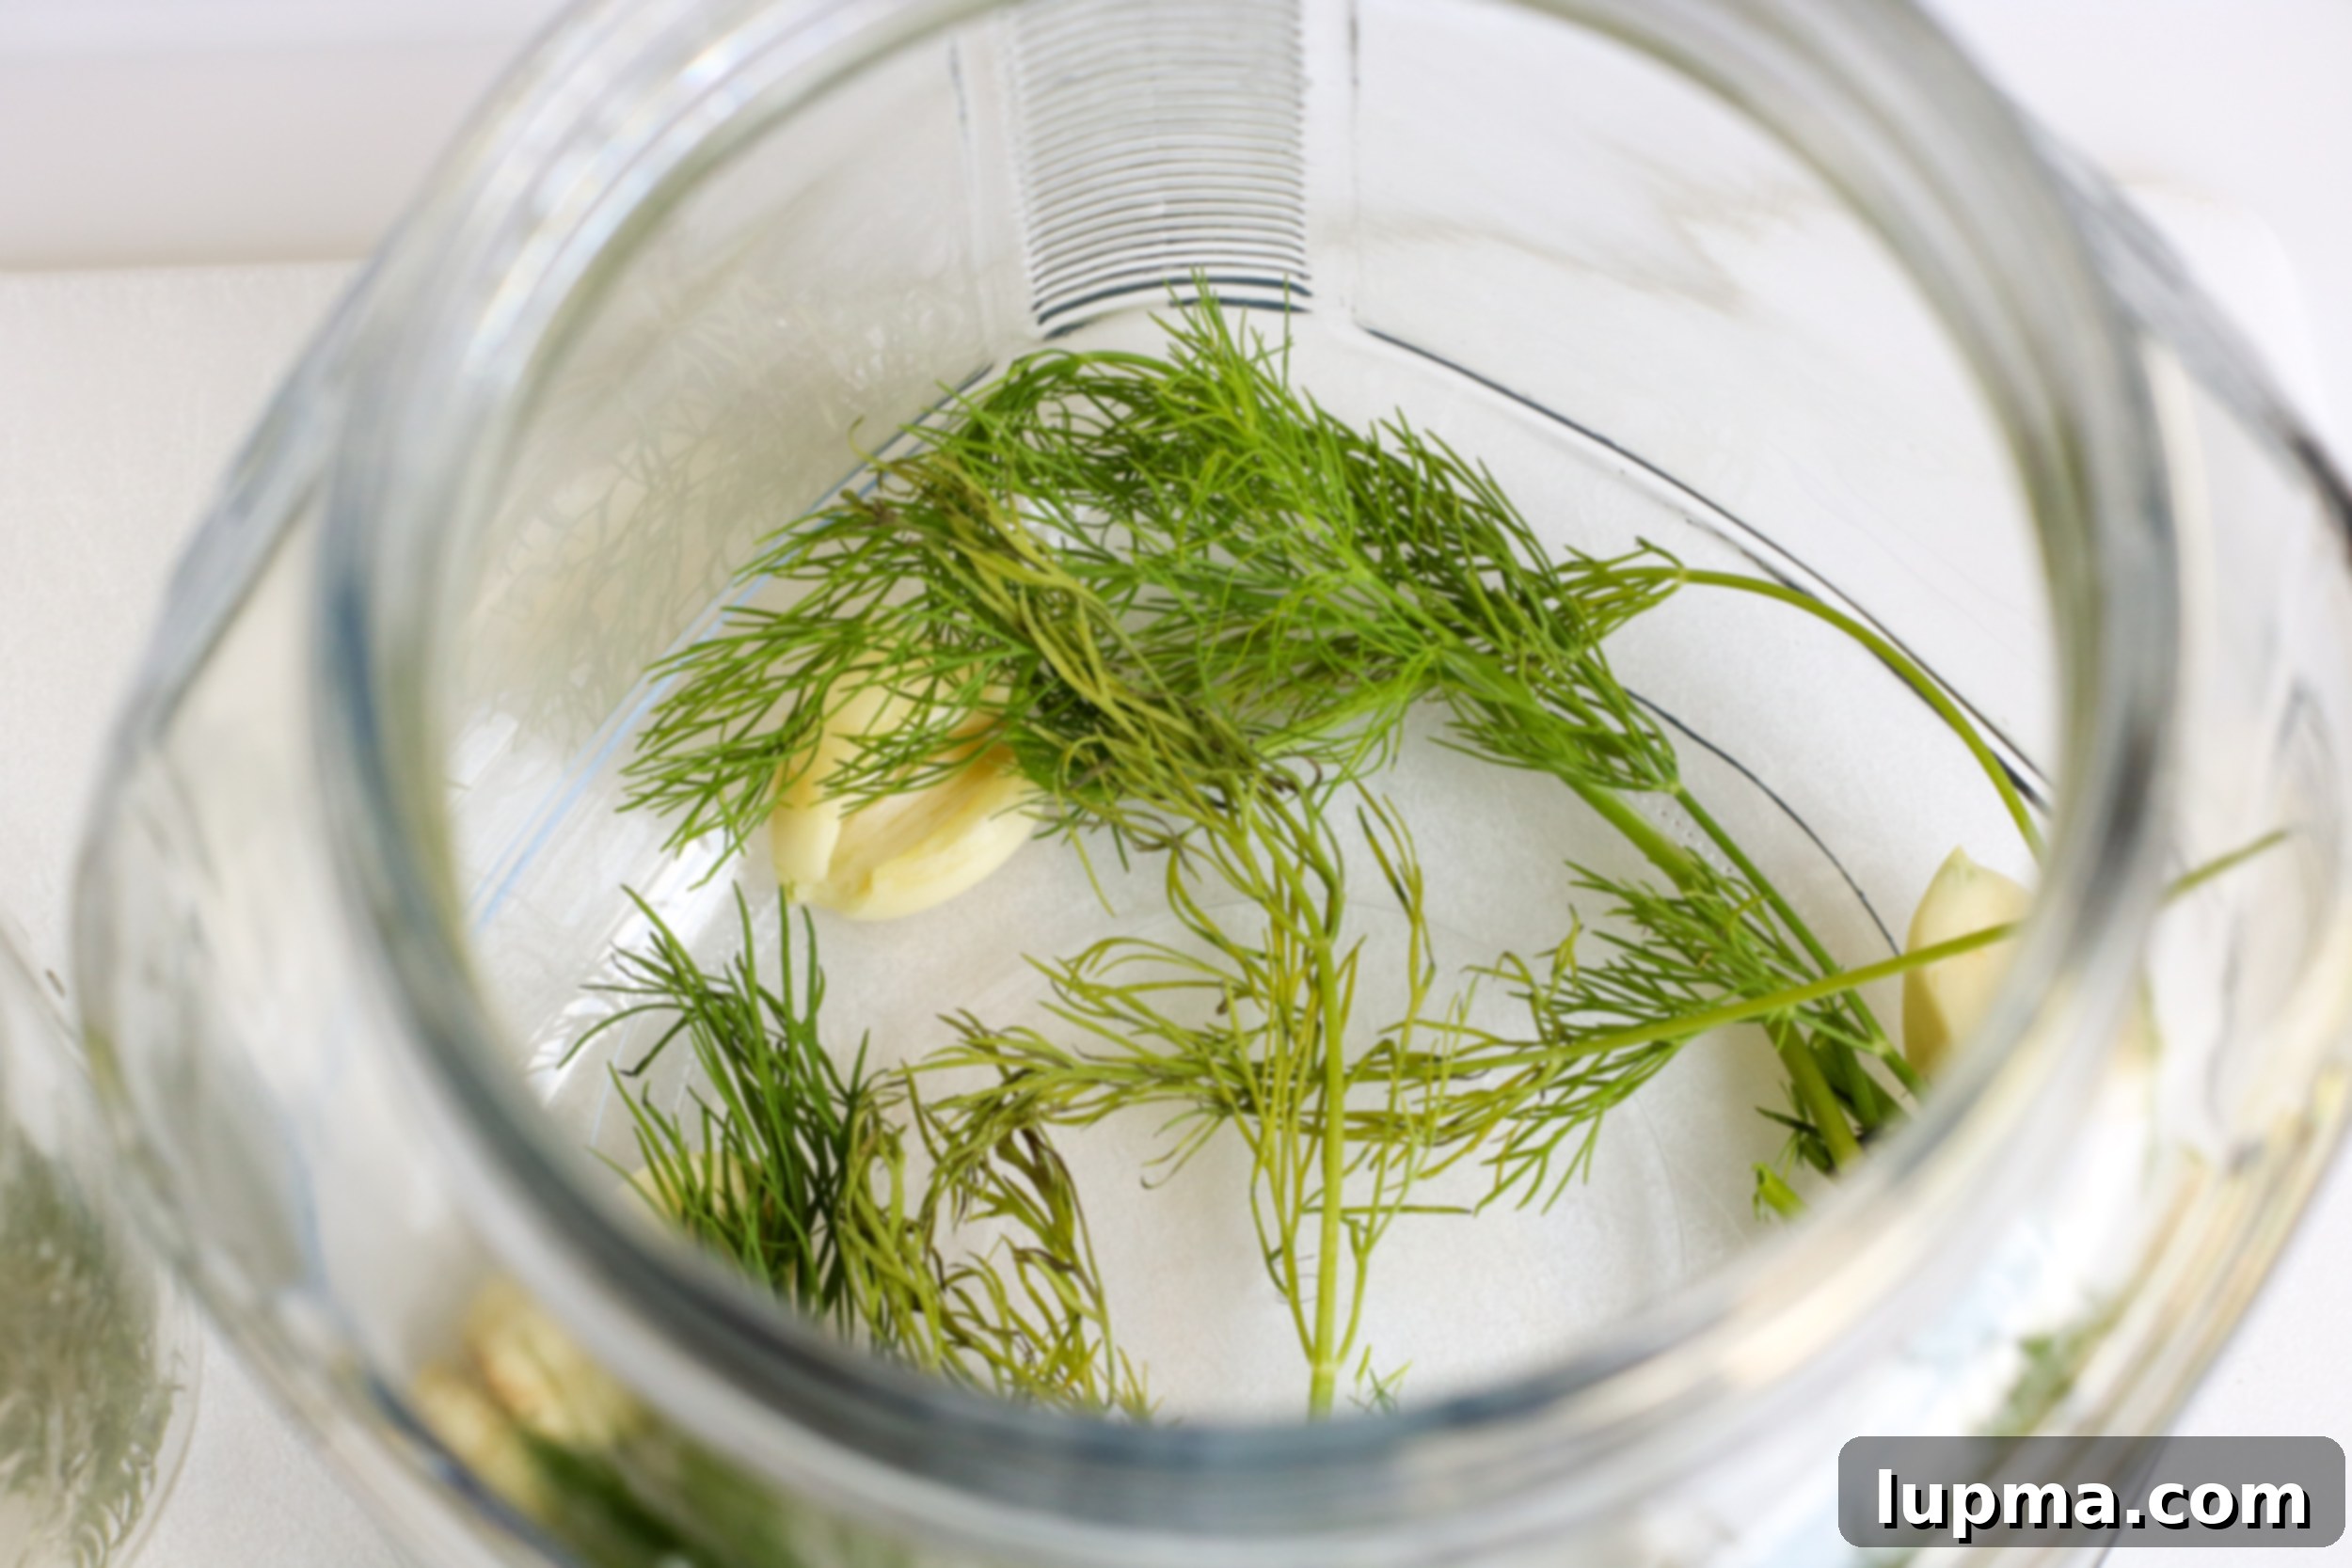
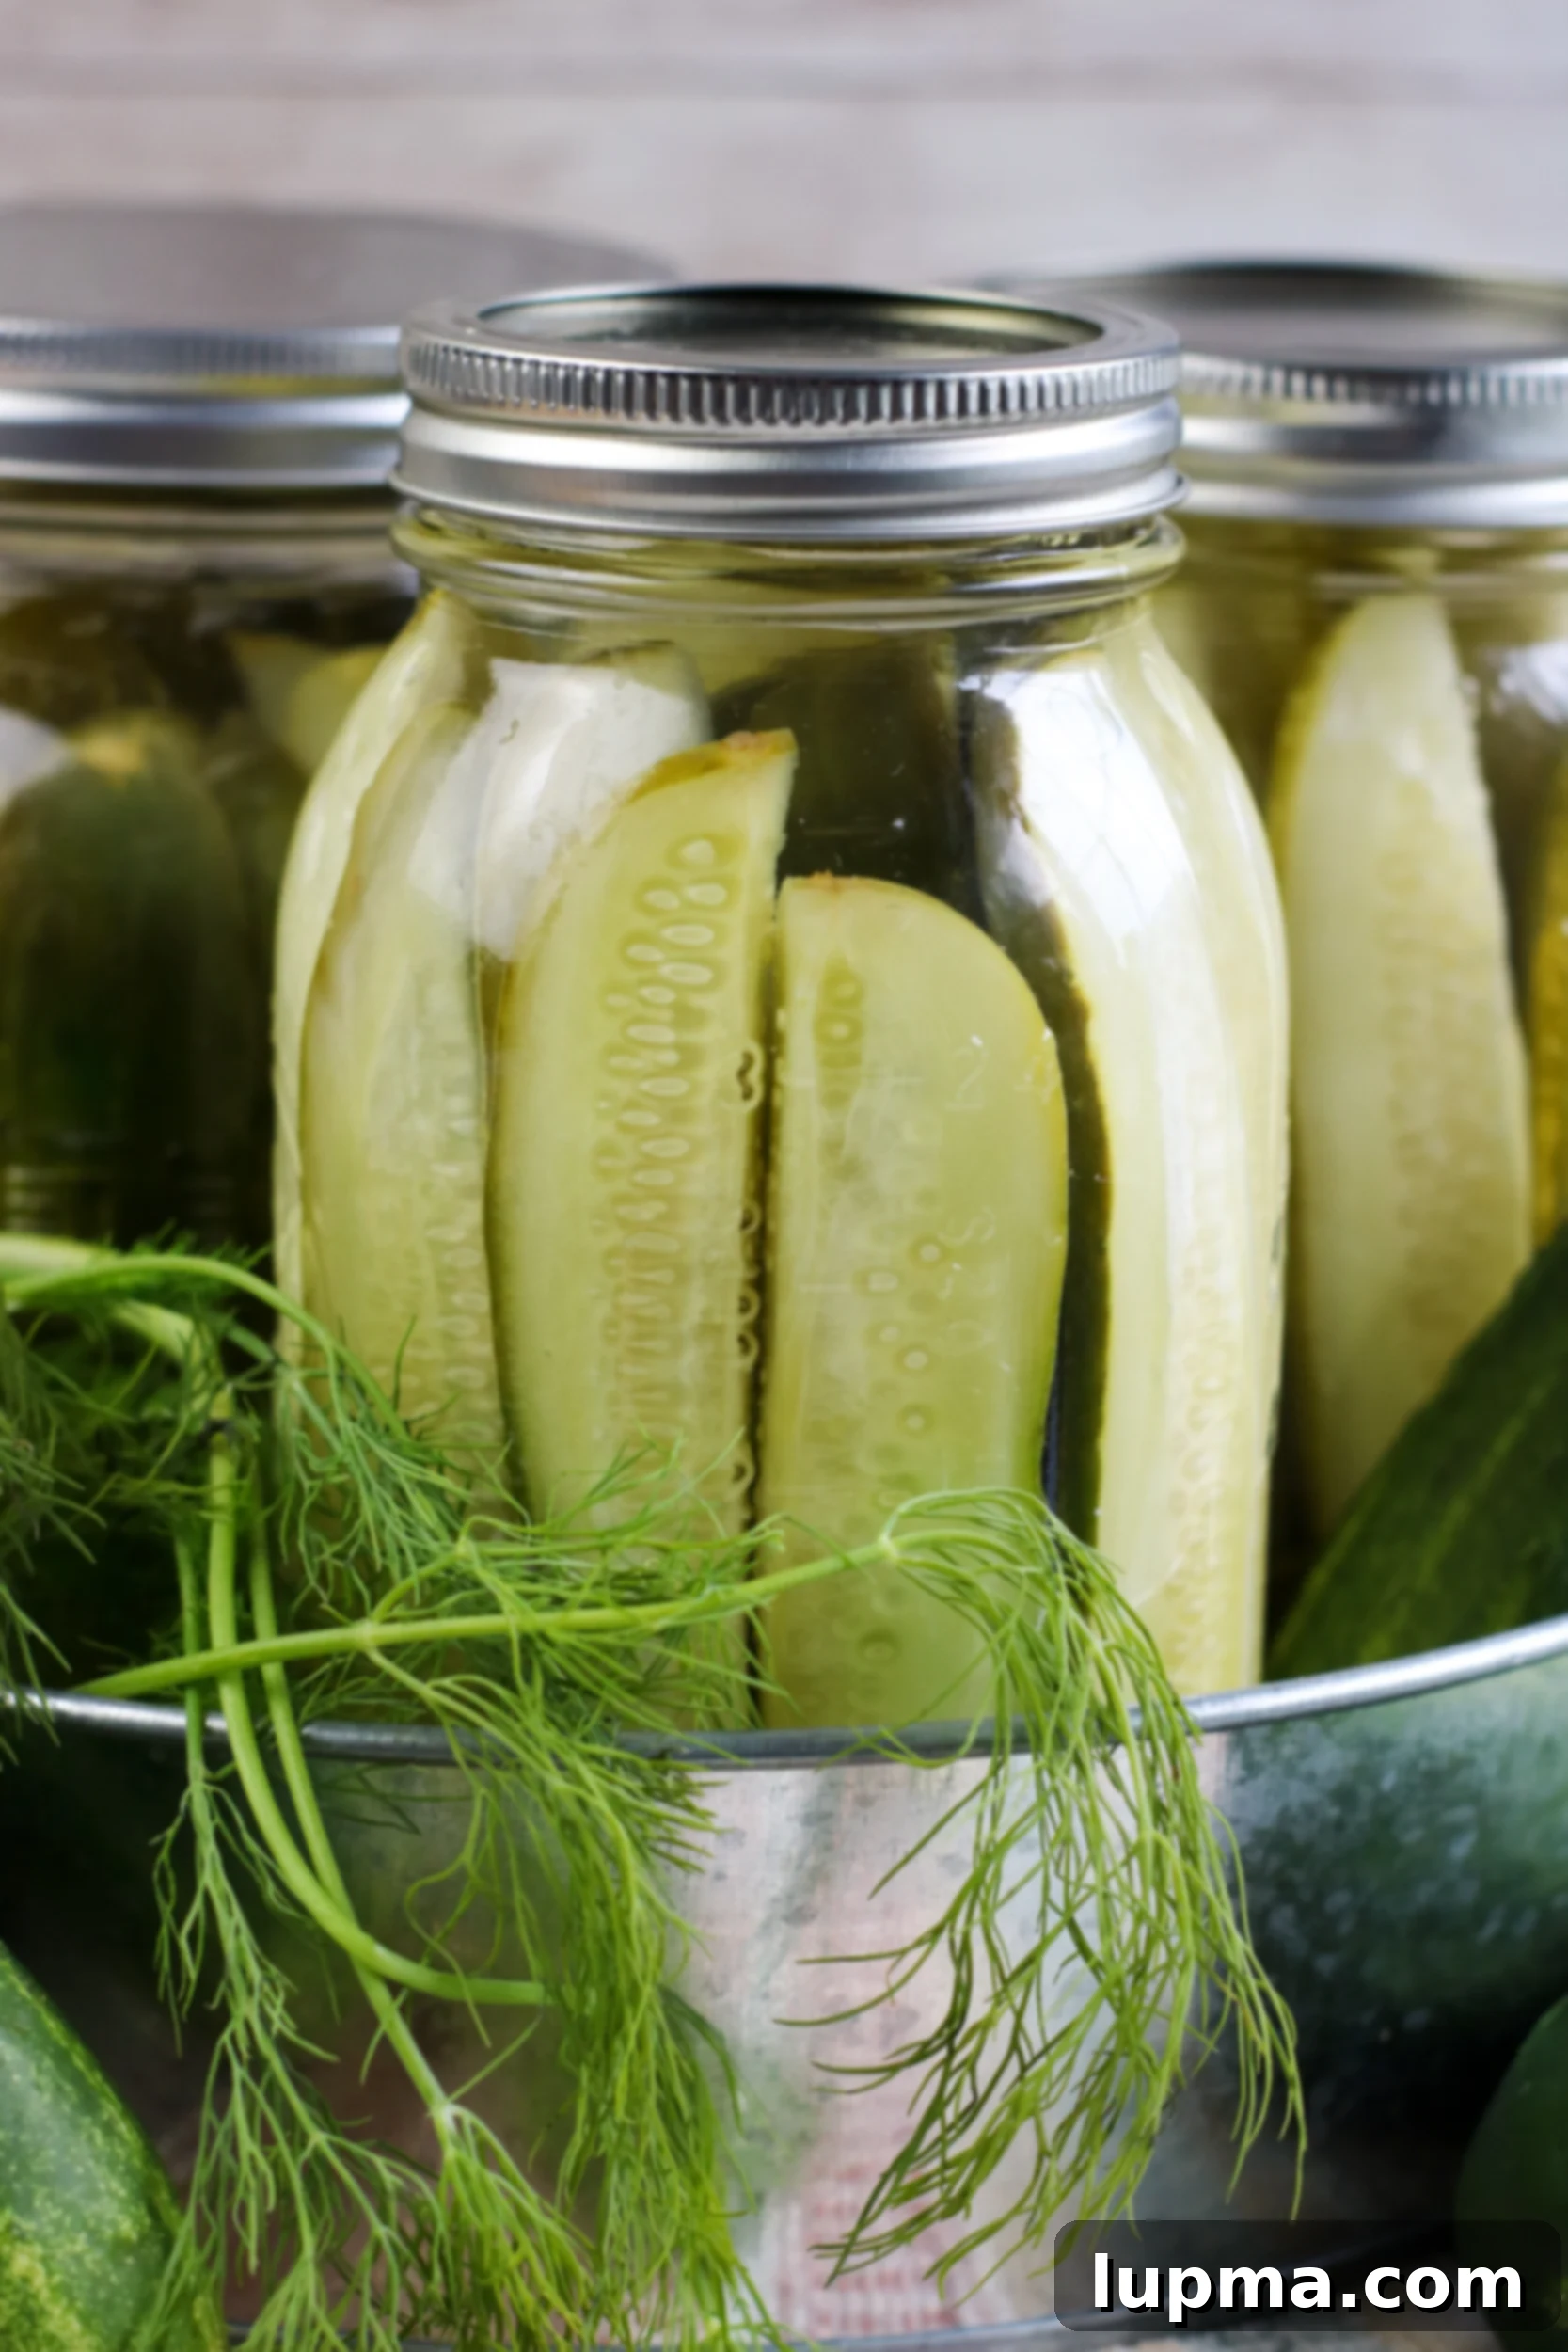
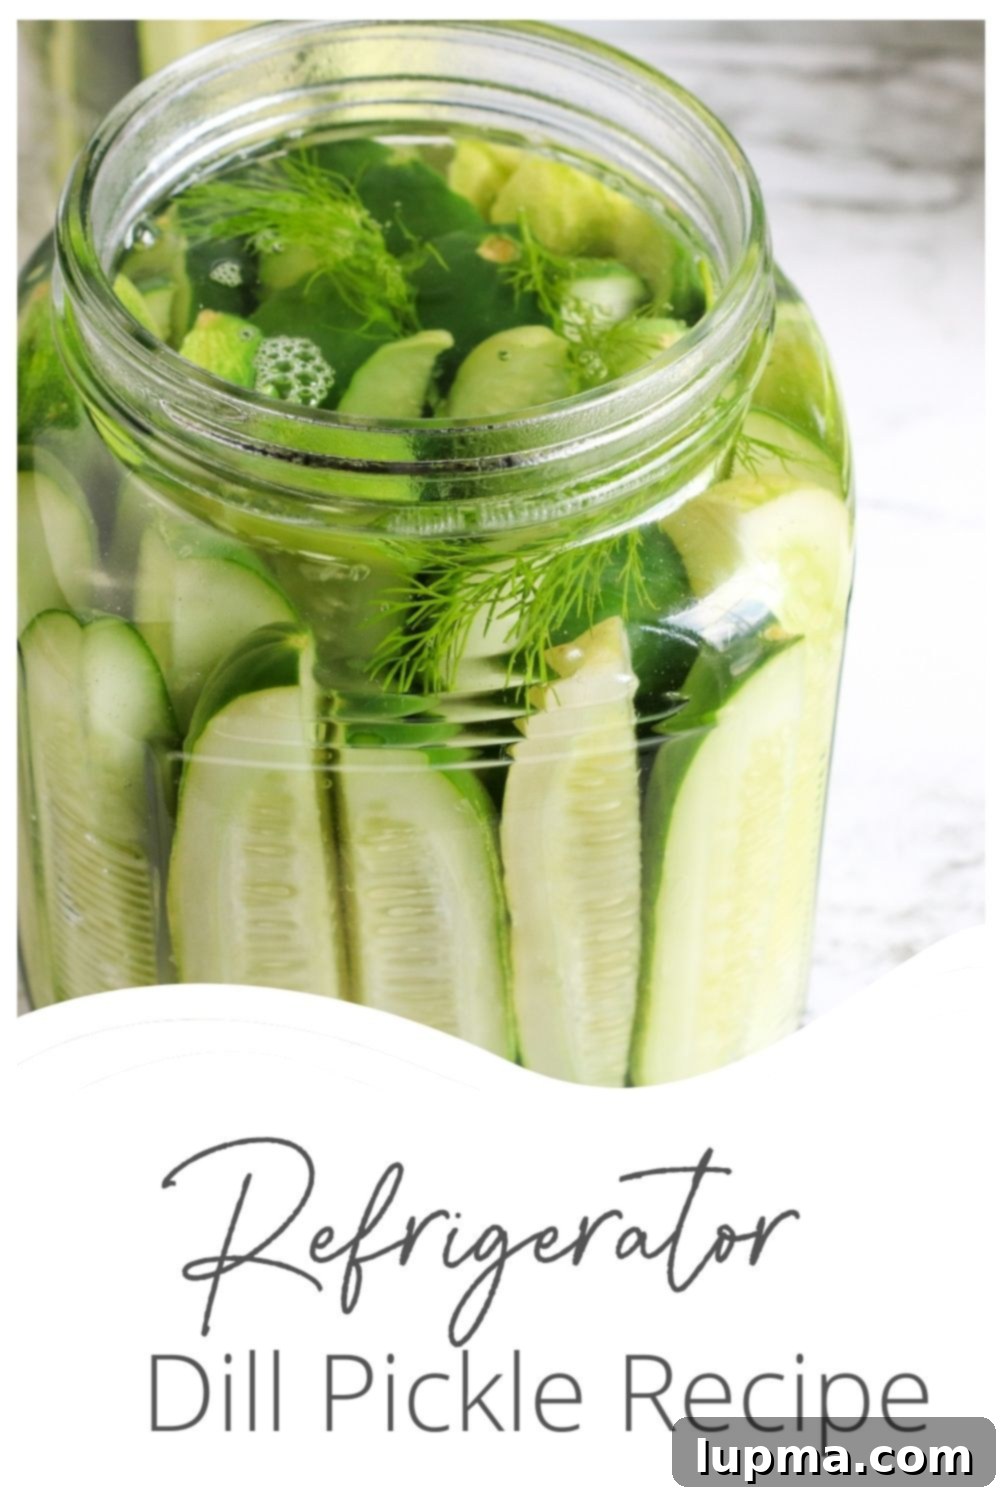
While the brine is cooling, prepare your jars and cucumbers. Ensure your mason jars (16-ounce jars work best for this recipe) are clean and ideally sterilized for best food safety practices, even though it’s not a true canning method. For each jar, drop in 2 peeled and crushed cloves of garlic and 2 sprigs of fresh dill. Then, carefully add your cucumber spears (or chips/rounds), packing them tightly into the jar without crushing them. The goal is to fill the jar as much as possible to minimize air space, allowing the brine to fully submerge the cucumbers.
Step 4: Pour the Brine and Seal
Carefully pour the slightly cooled vinegar mixture over the packed cucumbers in each jar. Make sure the cucumbers are fully submerged in the liquid. Leave about 1/2 inch of headspace from the rim of the jar. Once filled, seal the jars tightly with their lids.
Step 5: Refrigerate and Wait
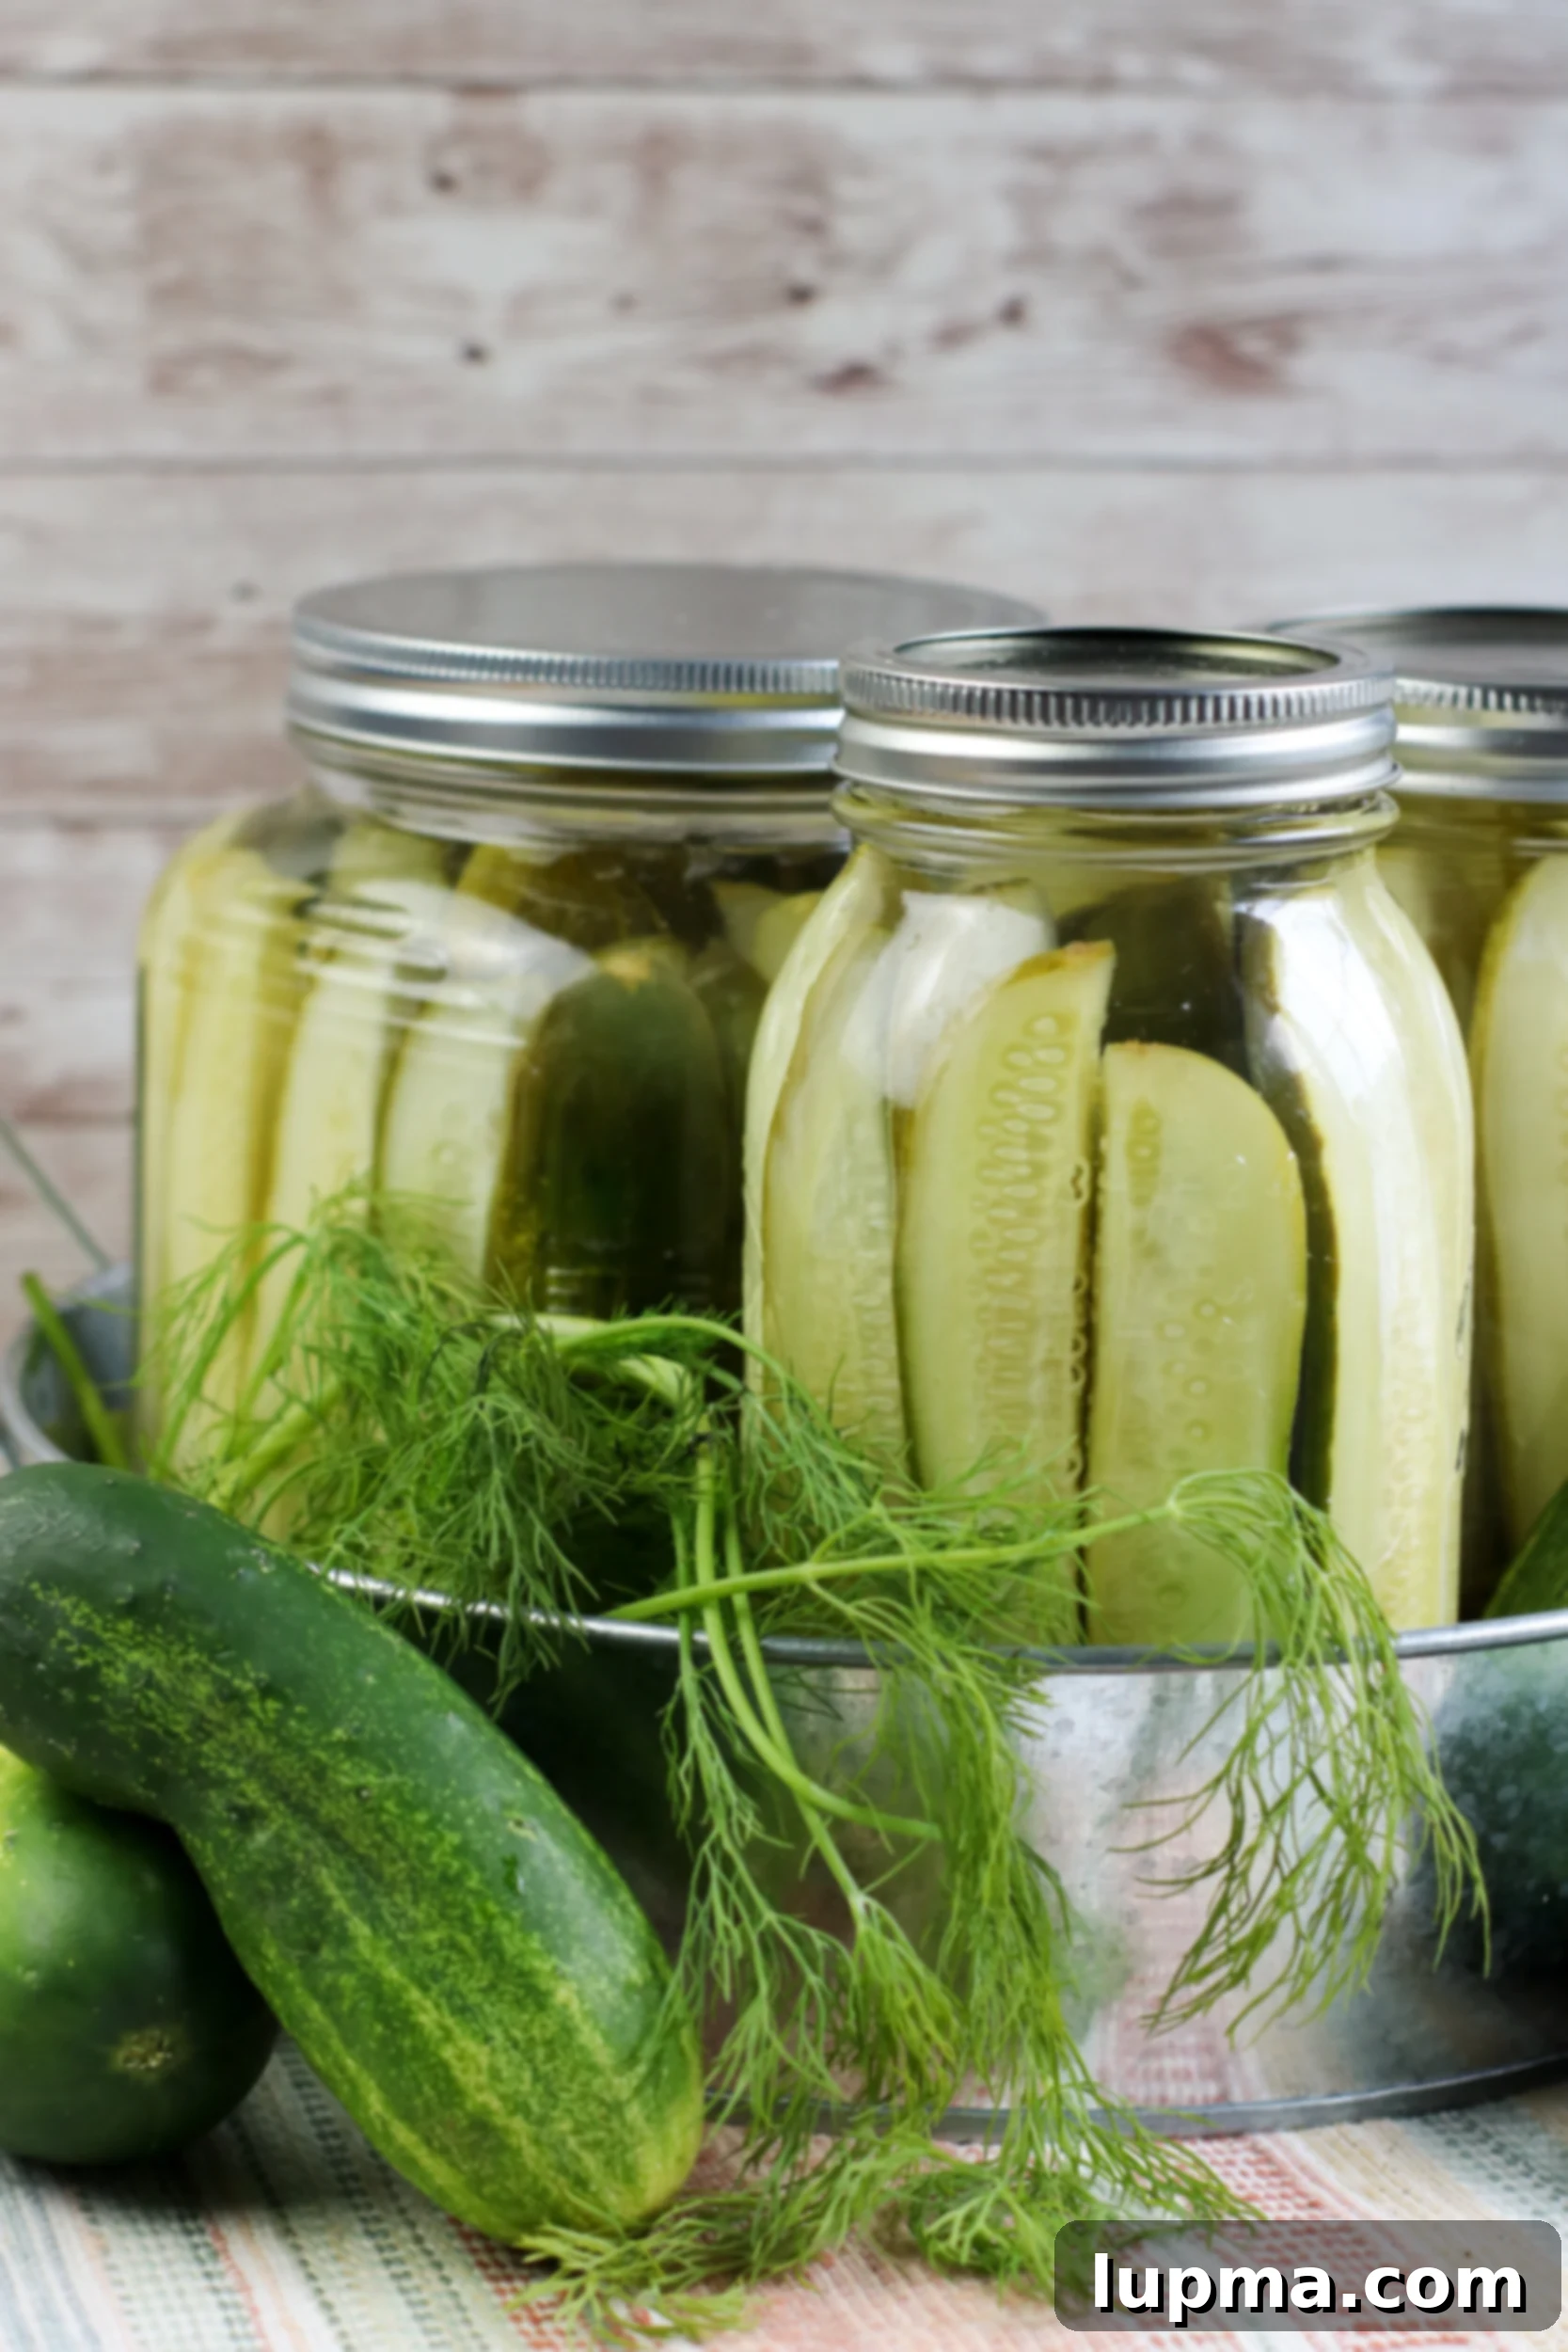
Place the sealed jars in the refrigerator. The most challenging part begins now: waiting! Allow the pickles to refrigerate for at least 3 to 4 days before serving. This crucial period allows the flavors to meld and the cucumbers to properly pickle, absorbing all the delicious brine. While they are technically edible sooner, the flavor and texture significantly improve with a few days of chilling.
Expert Tips for Making the Best Refrigerator Dill Pickles
To ensure your homemade refrigerator dill pickles turn out perfectly crisp and flavorful every time, keep these expert tips in mind:
-
Cucumber Cuts Matter: You have several options for how to cut your cucumbers. You can slice them into classic spears, create thin rounds (perfect for sandwiches and burgers), or use a mandolin with a crinkle-cut blade for decorative and fun slices. Experiment to see what you prefer! Trimming the blossom end of the cucumber (the lighter end, opposite the stem) can sometimes help maintain crispness, as enzymes in this area can cause softening.
-
Choosing the Right Jars: While 16-ounce mason jars are highly recommended for their ideal size and secure sealing, feel free to use any clean, airtight glass jars you have on hand. The key is to have a tight seal to prevent contamination and keep your pickles fresh. Ensure they are thoroughly cleaned, and consider sterilizing them, especially if you plan to keep the pickles for the full two months.
-
Proper Storage and Shelf Life: Unlike canned pickles, these are not shelf-stable. They absolutely must be stored in the refrigerator in a sealed container. When stored correctly, your homemade refrigerator dill pickles will maintain their delicious flavor and crisp texture for up to 2 months. Always check for any signs of spoilage before consuming.
-
Patience is Key for Flavor: While the pickles are technically edible after a day or two, they truly reach their peak flavor and ideal texture after sitting in the fridge for at least 3-4 days. The longer they sit, the more the cucumbers absorb the brine, resulting in a deeper, more satisfying pickle taste.
-
Customize Your Flavor Profile: Don’t be afraid to experiment with the amounts of garlic and dill. If you love a potent garlic flavor, add an extra clove or two per jar. For an even stronger dill presence, incorporate more fresh sprigs or a teaspoon of dill seeds along with the fresh dill.
-
Spice It Up: If you enjoy a kick, transform your dill pickles into spicy delights! Add a few slices of fresh jalapeño, serrano, or even a small piece of habanero pepper to each jar. For a more subtle heat, a pinch of red pepper flakes or a few whole Thai red peppers can do the trick.
-
Selecting the Best Cucumbers: The best cucumbers for refrigerator pickles are thin-skinned varieties. This allows them to easily absorb the pickling brine and achieve that desirable crisp texture. Ideal choices include Kirby cucumbers (often labeled pickling cucumbers), English cucumbers (typically longer and wrapped in plastic), or Persian cucumbers (smaller and crunchy). While garden varieties can work, ensure they are firm and have relatively thin skins. Avoid large, waxy slicing cucumbers if possible, as they can become soggy.
-
Ensure Crispness: For extra crisp pickles, try soaking your cut cucumbers in an ice bath for 30 minutes to an hour before packing them into jars. Additionally, ensure your brine is slightly cooled before pouring it over the cucumbers; pouring boiling hot brine can sometimes soften them too much.
Creative Ways to Enjoy Your Homemade Dill Pickles
Refrigerator dill pickles are incredibly versatile and can be used in countless ways beyond just a simple snack. Their tangy crunch adds a burst of flavor to a wide array of dishes. Here are some of my favorite creative ways to incorporate them:
Classic Pairings and Enhancements:
- On Burgers and Sandwiches: This is a no-brainer! A few slices or spears of homemade dill pickle can elevate any burger, from a classic beef patty to a Sweet and Spicy Turkey Burger with Guacamole. They also add a refreshing tang to any deli-style or grilled sandwich, like this Spicy Chicken Sandwich.
- With Wraps: Add a zesty crunch to your favorite wraps, whether they’re filled with grilled chicken, hummus, or fresh veggies.
- As a Simple Snack: Sometimes, the best way to enjoy them is straight from the jar! They’re a satisfying, low-calorie snack.
Beyond the Obvious – Innovative Uses:
- In Salads: Dice them up and mix them into potato salad, tuna salad, or chicken salad for an extra layer of flavor and texture. They’re also fantastic finely chopped in a simple green salad with a vinaigrette.
- Garnishes: Use them to garnish bloody marys, or serve them alongside charcuterie boards and cheese platters for a tangy counterpoint.
- Fried Pickles: For a delightful appetizer, batter and deep-fry your dill pickle slices until golden and crispy. Serve with a creamy dipping sauce.
- Chopped in Sauces and Dips: Finely chop pickles to add to tartar sauce, remoulade, or a homemade ranch dressing for a tangy boost. They’re also a key ingredient in many burger sauces and special spreads.
- Alongside Hearty Meals: Serve as a refreshing side dish to rich meals like Pork Burgers or Pulled Pork Sandwiches, cutting through the richness with their bright acidity. They also pair wonderfully with an Easy Blue Cheese Burger.
- Picnics and Potlucks: Pack them for your next picnic or bring them to a potluck. Everyone loves a good homemade pickle!
With a batch of these homemade refrigerator dill pickles in your fridge, you’ll always have a versatile and delicious ingredient or snack ready to go!
Tried this recipe? Leave a star rating and comment below! Subscribe to my newsletter or follow me on
Facebook,
Instagram, or
Pinterest for the latest.
Refrigerator Dill Pickles
Pin
Ingredients
- 2 pounds cucumbers, quartered lengthwise
- 3 1/2 cups water
- 1 1/4 cups white vinegar
- 1 Tablespoon sugar
- 2 Tablespoons pickling salt
- 4 cloves garlic, peeled and crushed
- 4 dill
Instructions
-
In a medium saucepan over high heat, bring water, vinegar, sugar, and salt to a boil.
-
Remove the pan from the heat and cool slightly.
-
Drop 2 cloves of garlic and 2 sprigs of dill into each 16 ounce mason jar or jar of your choice. Add the cucumber spears, packing tightly.
-
Pour the vinegar mixture into the jars over the cucumbers.
-
Seal the jars tightly and refrigerate for at least 3 days before serving.
Nutrition
Nutrition information is automatically calculated, so should only be used as an approximation.
